About Me
- Homestead Roots
- My tremendously supportive husband & I have 3 wonderful children, 1 dog, 12 laying hens, 2 dairy goats, 3 bee hives, and a 2000 sq foot vegetable garden on a small 1/4 acre lot in the city. In the center of it all is our small 1,000 sq foot house purchased in 2008 as a foreclosure that we fully renovated to host our growing family, home school adventures, and small home business (CozyLeaf.com). We have a desire to learn a path to self sufficiency finding ways to be good stewards of the resources God has given us. We want to learn to live with less as we laydown roots to our little homestead.
Showing posts with label garlic. Show all posts
Tuesday, April 24, 2012
Tuesday, August 3, 2010
Canning Pepper Rings

Step 1: Prepare your stove top! 1 pot of boiling water for water bath canning, 1 pot of vinegar and water (equal parts vinegar and water...I used 1/2 cup of each), 1 pot for lids. Place your jars in your boiling water to get them sterlized while you prepare your pepper rings.
Step 3: Pack your garlic and pepper rings into your jars. I like garlic so I used 4 cloves, but you could just use 1.
Step 4: Put 1/4 tsp canning salt (or regular salt but canning salt will help prevent the mixture from getting cloudy in storage)
Step 6: Put sterlized lids and rings onto jars and place jars in the boiling water bath canner and process for 10 minutes. Friday, July 23, 2010
Garden Update
The sun is creeping over the top of the garage this beautiful gardening morning...its so peaceful! I love sitting out at the garden watching the goats and chickens working and playing in the yard with the kids and seeing all the work we've done finally come to harvest!
The beans gave us quite a good crop but they are on their last leg and so is the broccoli so that will open up 2 more areas to get ready for fall planting. The radish bed is empty and getting ready for a new veggie...still not sure what though. I pulled up the rest of the potatoes a couple days ago and got about 20+ lbs which was pretty exciting! The sweet potatoes are taking off and looking good, as well as the tobacco! The squash is hanging in there, but we lost all the zucchini (along with the spinach!) :( We have several watermelons and pumpkins getting bigger and bigger! We have 2 beds of celery that we planted a couple weeks apart and the first bed is almost ready! All the onions and garlic are done...and yummy! Definately have to plant more onions and garlic next year!! The basil, mint and sage are very abundant! I even did a few herb bouquets for the house that turned out real good...the idea was from my Aunt Jill!! Jill was in town for a few days and was able to stop by the house to see our backyard chaos in person. I'll post more on the herb bouquets later...its such a great idea!! The sunflowers in the front yard are just starting to open up and they look fabulous!! I am SO excitted about those sunflowers!! Oh and the carrots! How could I forget about Henrys carrots!! They are getting closer and closer and I cant wait to see the look on Henrys face when all those carrots come out of the ground!
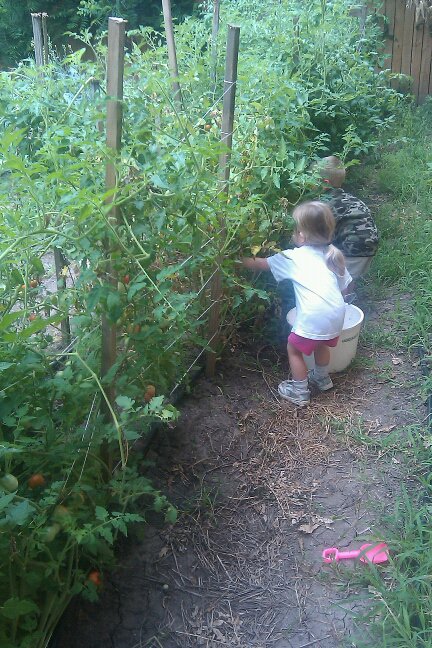
The tomatoes have taken over the little tomato cages and we had to build a 30 foot wall of twine around the whole row to help contain them! (We put 8 foot stakes every 4 feet and attached the twine with galvanized nails every 12 inches up the stake) They are producing quite well and taste absolutely magnificent! I have never tasted anything that can compare to eating a ripe heirloom cherry tomato right off the vine!!
Overall we have had some tremendous success so far (being our first year here and everything) and I look forward to seeing how much more this little area can produce!!
One things is for sure...working the soil with a good amount of compost will really help the garden be more productive. We added alot of compost to the back 4 rows of the garden and those 4 rows are fantastic!! But we didnt add as much to the front 2 rows because we added them later and had ran out of compost...it was a good experience for us to see how much less that area produced and how much slower the plants grew as well. We have quite a bit of compost that is getting ready to throw out there though so we will work the soil good this time!!
The beans gave us quite a good crop but they are on their last leg and so is the broccoli so that will open up 2 more areas to get ready for fall planting. The radish bed is empty and getting ready for a new veggie...still not sure what though. I pulled up the rest of the potatoes a couple days ago and got about 20+ lbs which was pretty exciting! The sweet potatoes are taking off and looking good, as well as the tobacco! The squash is hanging in there, but we lost all the zucchini (along with the spinach!) :( We have several watermelons and pumpkins getting bigger and bigger! We have 2 beds of celery that we planted a couple weeks apart and the first bed is almost ready! All the onions and garlic are done...and yummy! Definately have to plant more onions and garlic next year!! The basil, mint and sage are very abundant! I even did a few herb bouquets for the house that turned out real good...the idea was from my Aunt Jill!! Jill was in town for a few days and was able to stop by the house to see our backyard chaos in person. I'll post more on the herb bouquets later...its such a great idea!! The sunflowers in the front yard are just starting to open up and they look fabulous!! I am SO excitted about those sunflowers!! Oh and the carrots! How could I forget about Henrys carrots!! They are getting closer and closer and I cant wait to see the look on Henrys face when all those carrots come out of the ground!
The tomatoes have taken over the little tomato cages and we had to build a 30 foot wall of twine around the whole row to help contain them! (We put 8 foot stakes every 4 feet and attached the twine with galvanized nails every 12 inches up the stake) They are producing quite well and taste absolutely magnificent! I have never tasted anything that can compare to eating a ripe heirloom cherry tomato right off the vine!!
Overall we have had some tremendous success so far (being our first year here and everything) and I look forward to seeing how much more this little area can produce!!
One things is for sure...working the soil with a good amount of compost will really help the garden be more productive. We added alot of compost to the back 4 rows of the garden and those 4 rows are fantastic!! But we didnt add as much to the front 2 rows because we added them later and had ran out of compost...it was a good experience for us to see how much less that area produced and how much slower the plants grew as well. We have quite a bit of compost that is getting ready to throw out there though so we will work the soil good this time!!
Labels:
basil,
beans,
bouquet,
celery,
flowers,
garden,
garlic,
green beans,
mint,
onions,
potatoes,
pumpkin,
sage,
squash,
sweet potatoes,
tobacco,
tomatoes,
watermelon
Saturday, July 17, 2010
Canning Tomato Sauce - super easy with pictures!
Here on our little homestead the tomatoes are starting to take off! The first week or so it was really hard to get any of them into the house because we would all eat them out in the garden...especially Henry and Addie, they would sit giggling in the corner eating all the red cherry tomatoes. I was making alot of sauces and pizzas but the tomato harvests have got to the point we are having more than we can eat in one day...so the canning begins!! I have really been looking forward to this so it was an exciting day for me :)
Canning USA had a great recipe for canning tomato sauce with herbs...I also think one part that really caught my eye in this recipe was the addition of red wine...which I used our pinot noir we just bottle last month :) Another part of this recipe that I was particularly interested in is that they do not say it is necessary to blanch, peel, core and seed the tomatoes. Alot of the recipes I found said that I would need to take all that out which I felt like was a waste of a lot of tomato!! I had 10 lbs of tomatoes to work with so I modified the recipe to be for 10 lbs and not 15...but its the basic idea
Ingredients:
- 10 lbs Tomatoes
- 1 1/3 lb Onions
- 1/3 cup Olive Oil
- 2 tbl Salt
- 2/3 tbl Pepper
- 2/3 bottle Wine
- 1 1/3 cup Herbs (I used basil)
- 4 cloves Garlic (I used more but we like alot of garlic)
- Lemon Juice (I used Citric Acid instead, 1/4 tsp per pint jar)
![]() |
| Tomatoes, Onions, Basil and Garlic from the Garden! |
- If desired, blanch and peel tomatoes (I did not desire to do this)
- Coarsely chop tomatoes and put them into a bowl. (I used my food processor and just pulsed each batch a few times)
- Chop onions and then sauté onions with optional garlic in olive oil until translucent. (I chopped the onions pretty small in the food processor)
- For large canning batch this will take about 15 minutes
- When onions are done, add chopped tomatoes.
- Add optional wine and herbs
- Stir well and bring the entire pot to an even slow simmer.
- Simmer until reduced by one third (approx. 2 hours)... and it did take a little over 2 hours
- For canning, mix in lemon juice and simmer for 5 minutes. (I did not use lemon juice but added my 1/4 tsp citric acid to the top of each pint jar)
- Can immediately using hot pack method with 1/2” of head space.
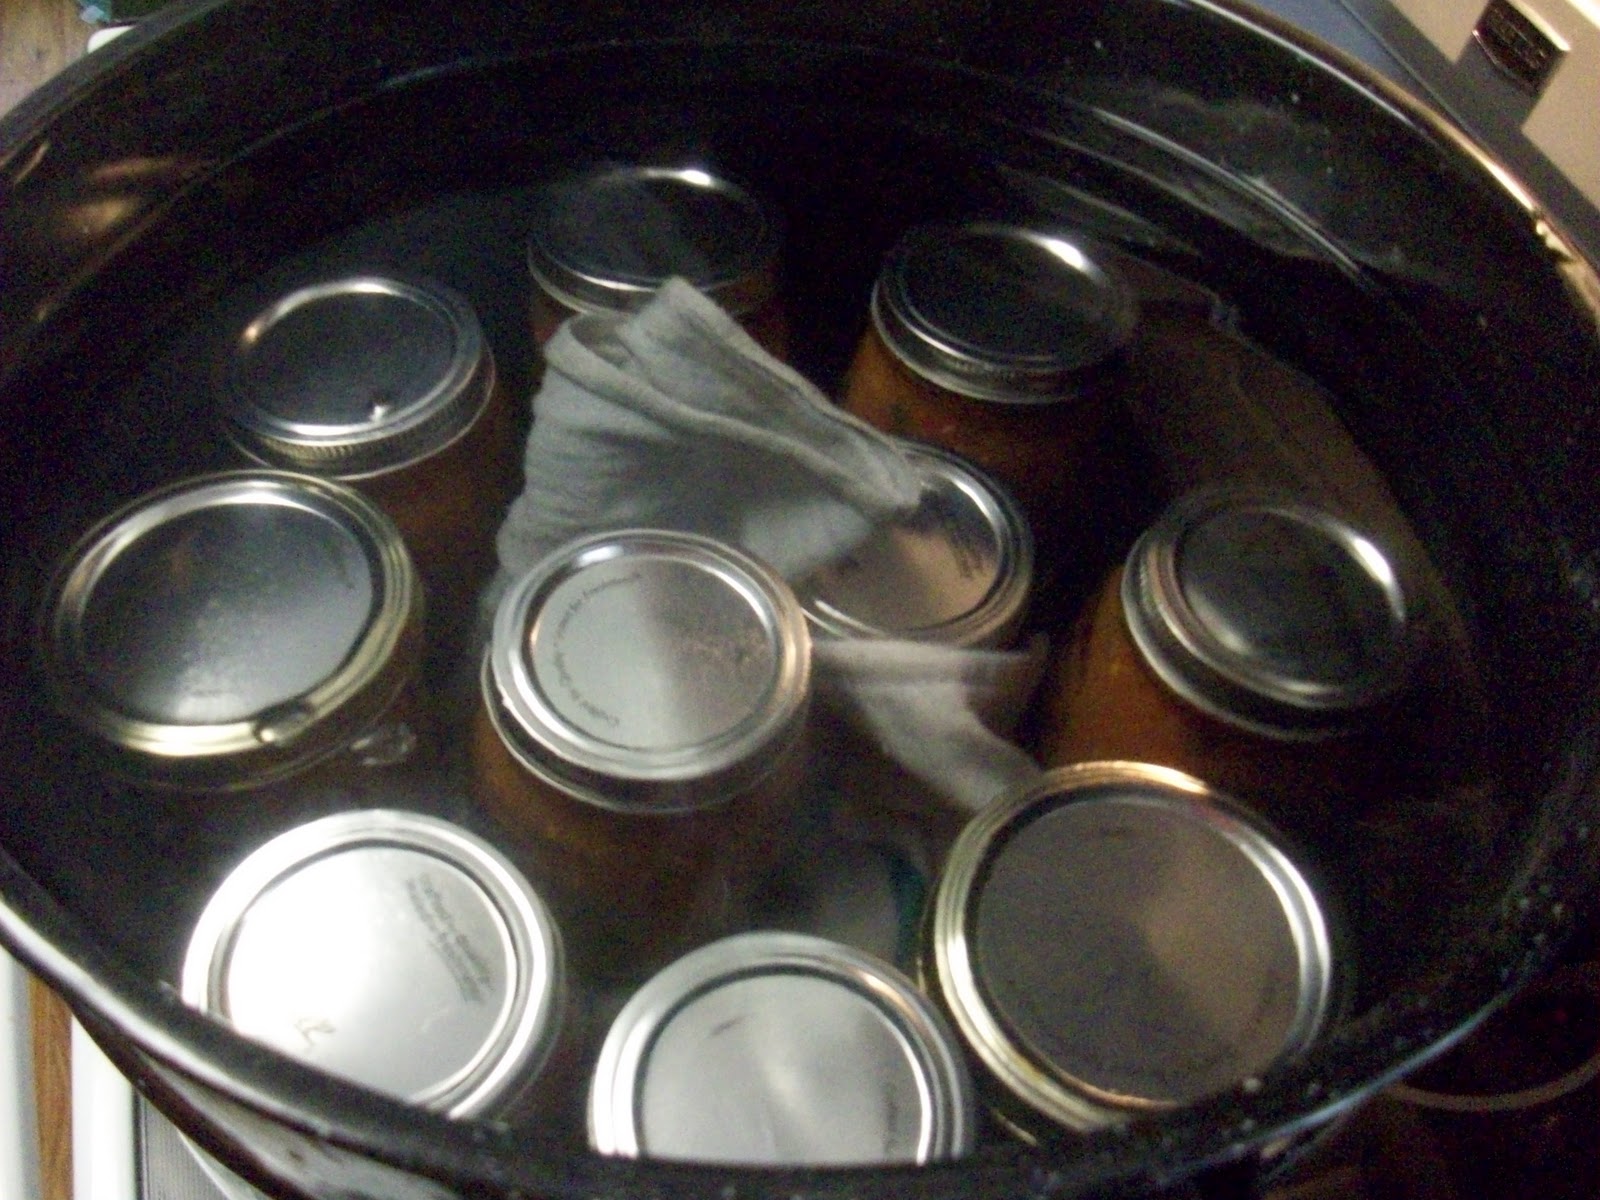
- Processing with a Water Bath; 30 minutes for pints or 35 minutes for quarts at 212 degrees. For elevations above 1,000 foot level see Altitude Time Adjustments.
- After processing, remove from boiling water and place the jars on a towel, separated by 1” to cool naturally as quickly as possible.
- Labeling and Storing
This recipe made 9 full pints and 1 half pint. All of the jars sealed beautifully and they sure look delicious! I did save a little at the end of the pan that we all tried and it was SO good, I wanted to open a jar right then, but then I realized I did all that work and wanted to save it for winter when I don't have fresh tomatoes and basil :)
Saturday, June 26, 2010
Garden Update! Beans, Tobacco, Tomatoes, Celery, Garlic...Oh My!
I am super excitted about the garden!! It has been ALOT of work, but its looking good :)
The Tobacco is coming up beautifully! This has been one plant that we really thought wasnt going to make it. It was a SLOW starter and then once we finally got it in the ground it just didnt take off like we had hoped...then after the few weeks of rain we got a while back it just exploded! We planted 6 plants - 2 each of 3 different varieties. 
The Green Beans are in harvest and SO much fun to pick. Addie absolutely loves getting in there and "exploring for beans"...at first she was picking the "tiny ones", but then she learned to leave those alone because "they are the babies and still need to grow"...so she just goes after the "daddy beans" now.

Oh and the tomatoes!!! Could they be any more excitting!!! We are eagerly anticipating their redness! Their are green tomatoes EVERYWHERE! I am afraid it is going to be a race to beat all the birds and squirrels to the ripening tomatoes, but hopefully they dont present too big of a problem...
Alot to cook and can here soon!!
Celery :)
Garlic!
Saturday, May 1, 2010
Garden Update Its turning GREEN!
The plants are doing good and it is great to start seeing GREEN! We had some good rain come through and it really helped the plants take off!!
The first Bush Bean is coming up!
Tomatoes
Garlic
Potatoes
Lettuce & Tomatoes & Herbs
Tuesday, April 27, 2010
Garlic!! How to plant Garlic... demonstration by Addie & Henry
We absolutely love garlic and I seriously cant get enough garlic! SO we planted a lot of garlic this year. We have planted it in various stages so we can have fresh garlic all summer. The kids absolutely love to help with the garlic so this time I thought as they plant it I would just take pictures! You start off with your garlic bulbs that you "unwrap" (as the kids say) and then you plant individual cloves of garlic. At the end of the year if you dry your garlic thoroughly you can even plant your own garlic cloves the next year. This is our first time planting garlic so we just purchased some at the local seed store.
"Put it in the ground and leave it in the ground". Thats what the kids say over and over as we are planting. When they helped me plant potatoes they kept burying them and then digging them right back up to see if they had grown... so now they are learning that it takes a little longer than 2 seconds to grow!
As Henry was showing me that after you plant your garlic you have to give it a good smack to help it stay in there!
Dig a little whole and put your garlic "into bed" (as Addie calls it). You can see where Addie is planting we already have some garlic coming up right beside it that we planted several weeks ago.
"Put it in the ground and leave it in the ground". Thats what the kids say over and over as we are planting. When they helped me plant potatoes they kept burying them and then digging them right back up to see if they had grown... so now they are learning that it takes a little longer than 2 seconds to grow!
Subscribe to:
Posts (Atom)