About Me

My photo
My tremendously supportive husband & I have 3 wonderful children, 1 dog, 12 laying hens, 2 dairy goats, 3 bee hives, and a 2000 sq foot vegetable garden on a small 1/4 acre lot in the city. In the center of it all is our small 1,000 sq foot house purchased in 2008 as a foreclosure that we fully renovated to host our growing family, home school adventures, and small home business (CozyLeaf.com). We have a desire to learn a path to self sufficiency finding ways to be good stewards of the resources God has given us. We want to learn to live with less as we laydown roots to our little homestead.
Showing posts with label compost. Show all posts

Thursday, March 22, 2012

We sure have been busy!!

Spring is here and we are trying to get our backyard ready! We have a nice large backyard and can grow thousands of pounds of produce, but for some reason we can not grow grass!! We just cant do it...it just dies! SO, we are trying it once again!! We bought 12 tons of nice compost and had it delivered (which of course a large pile of dirt is strictly for climbing and sliding!)

Then Bryan decided that we needed to rid the back yard of a few trees!


Now to pick up the tree! Which of course is the most fun part for Henry and Addie!! (dont worry everyone...they are fastened in quite tightly!)


Oh and while we are at it we might as well get a shed delivered! This shed was at my grandpas house and they didnt need it anymore and it was basically going to get thrown away...so we had it moved here to be our new milking barn and a place to store all our animal feed and hay :)

 How awesome is this little machine!!
 Ummm ya its a tight fit!!! The shed is 10'4" and the opening on our side gate (WITH the gate and hinges taken off) is 10'5"...but this guy sure wasnt scared to try! 
 Yep, that tight!
PULL BRYAN PULL!!! 
Ok, now lets trim some more trees!
Dont look kids...daddy and Mr Paul arent being very safe.  
Now lets rearrange the yard while we are at it...chicken coop is moved to the back to make room for our new shed :)
Now to leveling out the yard again and spreading the compost evenly.  
Oh boy...what a weekend! We have ALOT more work to do but this is a good start ;) Ill definitely keep you posted on our progress! But now we are under a ton of rainfall so it is quite the mud pit back there!! But we are EXCITED!!!!

Wednesday, March 9, 2011

Compost Sifter Turny Thingy


We have a whole lot more compost to sift than we did last year and seeing as I'm pregnant, I knew I needed a easier sifting method! I thought about it for a few says and figured it would be easy to build a sifter that rotated. I had no idea what it would be called but it sure made sense in my mind. I kept calling it "a compost sifter turny thingy"...yes, I know that isn't the best technical term.
So my research began and I got together a few supplies that I had in the back yard and just started building the thing that I had in my mind. It took me 2 afternoons to build, but I was really happy with how it turned out! I was really nervous to see is it would work! Once Bryan got home and could help me lift it onto the stand, we bolted it into place and filled it up...it sifted beautifully! I sifted a whole wheelbarrow full in just a few minutes...and being 7 months pregnant I'm sure other people could move even faster than that. I have quite a bit more loads to do, but it is definitely going to be mich easier with my "compost Sifter turny thingy"!
Published with Blogger-droid v1.6.7

Saturday, August 7, 2010

Garden Update...fall planting

Its been pretty busy around here...fun and busy! The garden has been extremely productive and some of the spring plants are harvested and gone and we are onto fall planting! In the first row you can see our watermelon hills that we just planted a few days ago that took the place of all the squash and zucchini from spring planting. Then the next bed up you can see the celery looking full and the empty spot is where we had some lettuce and radishes, but that has been worked in with some compost and we planted more lettuce and some spinach and chives. The third row up is where the beans and potatoes used to be and we have harvested all those (getting over 100 lbs of vegetables from that bed alone) and are working the soil with several wheelbarrows full of compost to get ready for more bush beans, bush peas and some arugula. The 4th row is where the sweet potatoes, tobacco, peppers and basil are residing. The 5th row (which you cant see in this picture past the tobacco) has carrots, peppers, eggplant, basil, and some newly planted radishes (planted today). The 6th row has all our tomato plants (we call it the wall of tomatoes) and a row of celery in front of that. The back bed is where the asparagus was planted, but it doesn't get much sunlight because of the wall of tomatoes so I hope it makes it.
 
 This is a close up of the sweet potatoes, they are vining out everywhere and looking really good!
The basil pretty much hides the rest of this bed...but its ok, I LOVE basil!!
Eggplant! I couldn't be happier with this heirloom variety of eggplant! This one plant alone has 4 beautiful eggplants hanging off of it waiting for harvest!

Close up of the celery and onions.

The shade is creeping in on this bed, but this is where we planted the next round of radishes.

Here is one angle of the "wall of tomatoes".

Another angle of the celery and carrots.

Sweet potatoes, with the peppers and tobacco in the back of this picture.

Eggplant.
Prepping the beds with rich compost to get ready for fall planting.


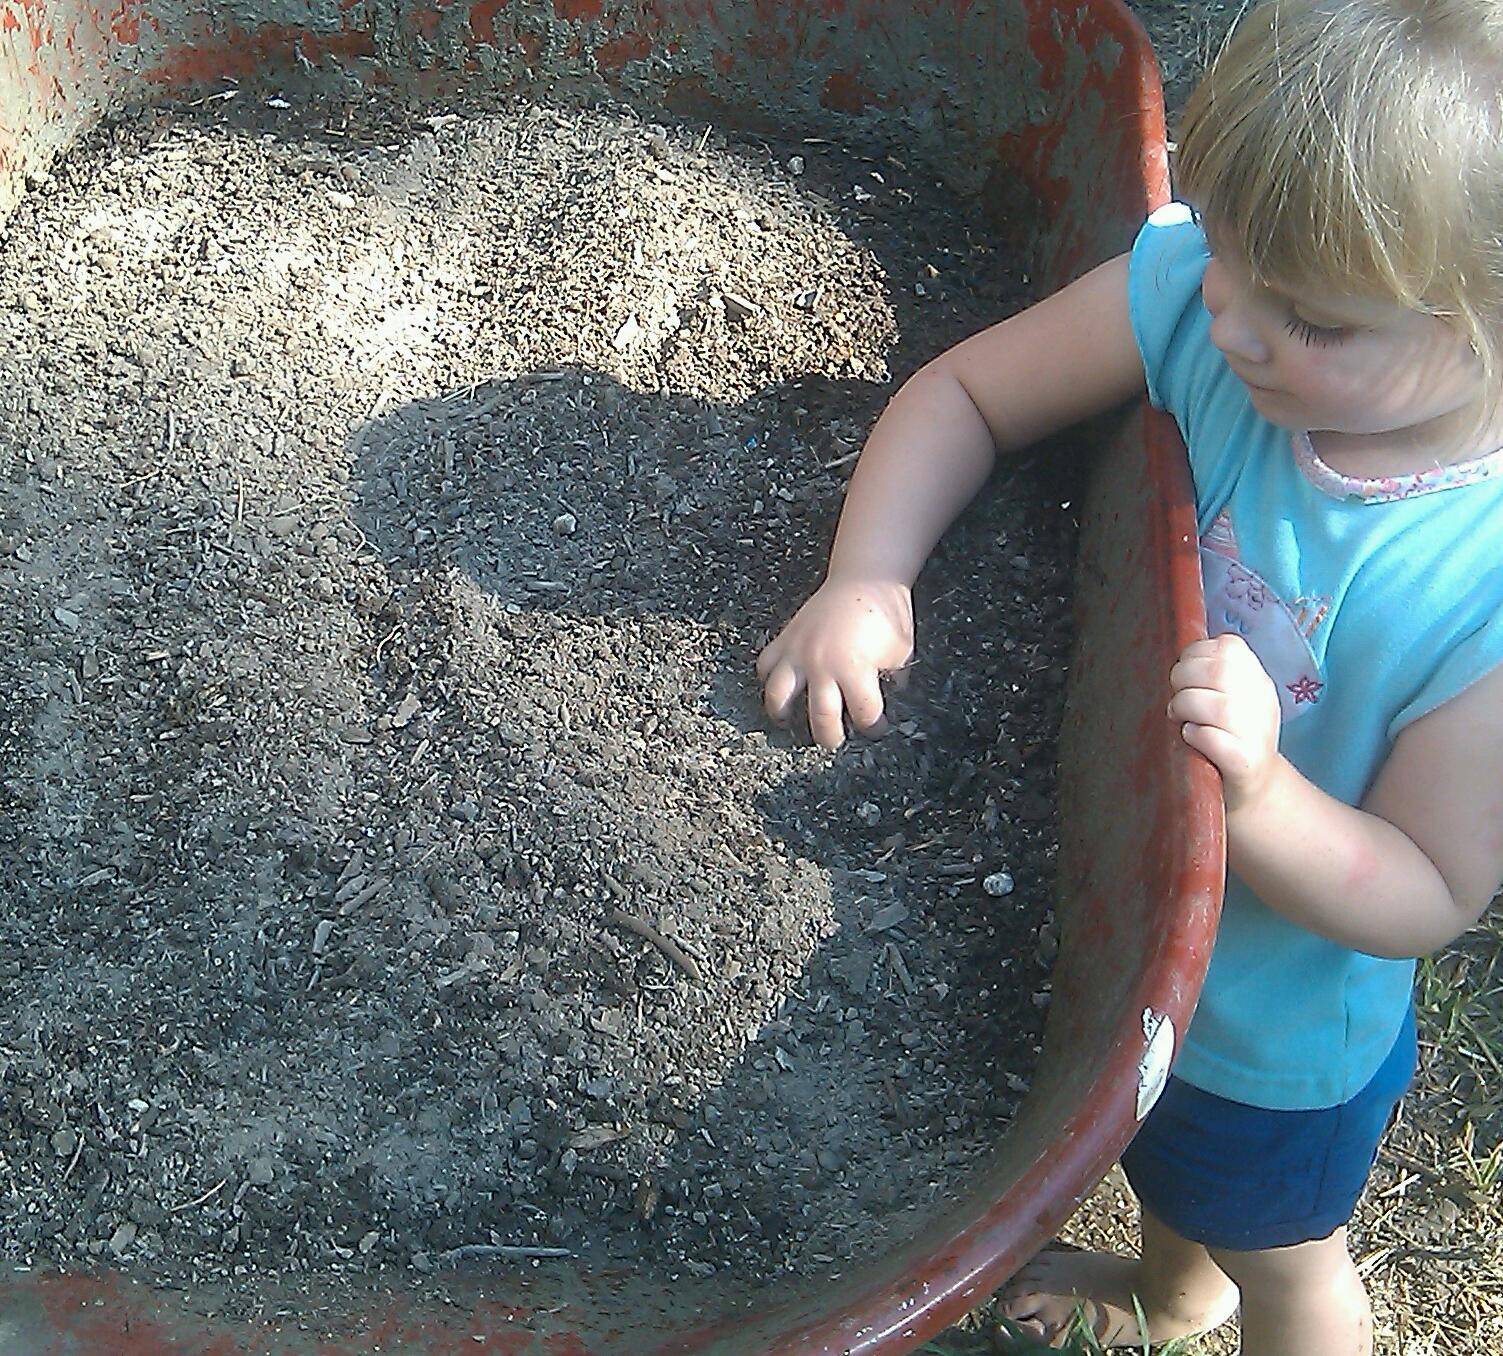
Addie was a big helper today with the compost.

Strike a pose!! Addie loves "petting" the basil, she thinks the flowers are pretty...she used to pick them and I didn't care because we had SO many, but now she has lost interest in picking the flowers she just loves to look at them and smell them.

The bees love the basil too!!

We are trying a new method of composting (well new to us anyway). Compost corral! We were having a hard time with the goats and chickens getting in the compost and moving all 3 of our organized piles together, so we thought we would give this a try with one of the piles just to see how it turned out...we'll keep you updated!!


Friday, August 6, 2010

Compost Screening, preparing for fall planting.


Henry and Addie screening some amazing compost with their new shovels grandma got them. We have been getting several beds ready for fall planting and laying down some freshly screened compost before putting in seeds. Yesterday we planted 6 melon hills and today we planted a fresh bed of lettuce and spinach. We prepped a few more beds and I look forward to what happens tomorrow!!

Im loving the compost!!! Amazing soil made right in my backyard! We sifted the compost into 5 gallon buckets and brought in at least a dozen buckets of rich nutritious soil onto our raised beds. Keeps me motivated having good progress!
They just kept going and going! Henry loved to shake the sifter to get all the large particles out...see his new little "worker man gloves". Seriously the best 99 cents Ive ever spent! He wore them all day while he helped me with the compost, weeding, planting and harvesting.

Saturday, May 22, 2010

More AMAZING soil from the compost!!

Im super excited about our compost!! We screened out a couple wheel barrows full of compost to add to the potatoe mounds and the soil looks fantastic :)

Monday, May 3, 2010

Steps to Building a compost Pile Step by Step Composting

We haven't been composting for too long, but it sure is rewarding when you finally get to sift out your turned compost and put it back into the garden! There are SO many benefits to composting both personally and globally. You can have rich organic soil made right in your own back yard and it really is easy!! Reducing the amount of garbage you set at the curb each week for the dump truck to pick up as well as adding quality to the soil in your own back yard...all you need is a little time and a little patience :)

Steps to Composting:

1: Have a Kitchen Compost Bin Pail. You can buy them or you can make one yourself.

2: Choose the best outdoor composting option for you and your family. There are open and closed methods.

3: Pick out a location for your compost pile or compost bin tumbler outside.  Location, Location, Location! Make it convenient and easy to get to, but also away from animals you don't want to have in your compost. Keep in mind what items you are going to be taking to the compost and how often (kitchen scraps, garden scraps, animal barn straw and manure, grass clippings, etc etc).  If you live in the city like we do it really isn't a big deal where we put the compost pile because our yard is so small it is relatively close to everything!

4: Fill it up! Know what to compost and what NOT to compost! (Basically just don't compost meat, dairy, cooked food, or dog or cat poo). You can also look into getting some earth worms at your local bait shop to put into your compost...any earthworm is great, but the best for your compost are "red wigglers".

5: Wait! This is the most important part and is also the part that can vary. If your compost has the exact amount of moisture and air flow it could be ready in as little as 6 weeks...so Ive heard! (Ours usually sits in the first rotation location for about 6-10 weeks then is turned over into the second rotation location for another 6-10 weeks and then depending on if it is ready from there it may go to location 3 for another 6-10 weeks before being sifted into rich compost for the garden.)

6: Rotate it! Depending on the method you choose you may or may not need to turn the pile every 6 weeks or so to allow some airflow and even composting. Make sure your compost gets even moisture and heat to help breakdown the pile quickly and effectively. Use a pitch fork to help turn and check the center of your compost pile.
          
7: Screening your compost to have wonderful organic matter for your garden
8: Lay it on your garden beds and watch your plants grow!

This is FREE fertilizer and it is the very best thing you can do for your garden! We don't have any special compost structures or equipment, just some time and work! Give composting a try it really isn't that hard...besides you just be throwing the stuff away anyway :)


Saturday, May 1, 2010

Compost Rotation Step by Step with pics

Compost Rotation:

It is important to rotate your compost pile to get adequate airflow, moisture and temperature control. Its really pretty basic and just takes some time and sweat!
We turn our pile every 6-10 weeks and have 4 "open air rotation stations". The first station (as you can see in the first picture below) is the newest pile that has mostly green matter. The second pile was turned 6-10 weeks prior and the third pile was turned 6-10 weeks prior to that. The fourth pile (which is taken to the garden pretty quickly) is the screened out organic matter that is headed to the plants!(There are alot of different ways to set up and to work your compost pile, but this is the way we have figured out works best for us and our area...get creative and figure out what works best for you!)

Start off by checking the temperature of the center of your pile to make sure it is getting some good moisture and heat and is ready to be turned.

Begin turning the pile that has been composting the longest and turn it by just repiling it into another area. This pile has been "working" all winter and is looking really good!
The chickens sure get excitted when we are working back in the compost area because they know there will be some easy pickins of alot of bugs!!

Once that pile is moved then you can turn the newer piles into those "stations".
You want to make sure you have a good ratio of "brown to green matter" ("dry brown stuff" like leaves, hay and dirt...and "moist green stuff" like grass clippings, fresh leaves, kitchen scraps, etc)

(Some helpful tools are a Standard Shovel, a Pitch Fork and a Rake)
This 3 prong pitch fork is one of our favorite composting tools...and we got it for crazy cheap at an estate sale!  
Just keep piling it up! Bryan set up a barrier in between the 2 piles so the chickens dont scatter the two piles together.
 

Give it some moisture (just a light misting...not too much!)... This is the kids favorite part!

Heres Bryan and Sarge takin a look at the oldest rotation which looks really good and will be ready for screening here in a couple of weeks!

The newer rotation turned out to be pretty good and will make for some GREAT soil for the garden in a couple of months!

Its been a lot of work to get these piles rotated but it sure is worth it and very excitting to see all the excellent quality organic matter that we can add to our garden! This is FREE fertilizer and it is the very best thing you can do for your garden! We dont have any special compost structures or equipment, just some time and work! Give composting a try...besides you just be throwing the stuff away anyway :)
Happy Composting!