I love to sit by the fire with a nice cup of hot tea. There is nothing like a warm fire on a cold day!
Published with Blogger-droid v1.6.5


 We did some work in the front garden and put in some shrubs and mulch. Hopefully they fill out and are beautiful next spring!
 Henry and Bryan dug up all the grass and then worked in the soil to get it ready for plants!
 Laying in the edging could have been very difficult, but Henry and Addie really held it in place quite well while Bryan went along and secured it in place!
 Henry was a great helper and even rolled up and put away all the extra landscape edging as well as putting away all the tools! We also laid a layer of landscape fabric and several inches of cedar mulch. It looked fantastic and somehow I didn't get a good picture of it before everything froze and went dormant...at least I hope its just dormant and not dead :(


 I also canned up 7 jars of mixed vegetables (excellent for pot pie!). I really wish I could find the recipe I used for the mixed vegetables! I'm seriously loosing my mind because I just canned them up last night and I cant find that recipe anywhere!! I sure hope I used an actual recipe and didn't accidentally combine 2 different ones! I would love to share what I did with you all, but I have no idea what I did :) All I remember is that I used about 29 cups of vegetables (potatoes, carrots, celery, onions), covered them with water, boiled for 10 minutes and then filled sterilized jars with vegetables and water, added 1 tsp canning salt, and processed in a pressure canner for 85 minutes. Easy pot pie: 1 Pie Crust, 1 Can of mixed veggies (drained), 1 can of canned Turkey or chicken with stock...bake and dinners done!
  Some friends of ours have family with a small sweet corn farm and they brought us quite a few ears of corn. I wanted to try out my new Corn Cutter
  It took about 20 minutes and I had 6 cans of creamed corn!


 Here is a picture of Addie "hiding" behind the sweet potatoes in the next walk way. They have grown to a nice tall "bush" of leaves. I have to keep on the vines or they will trail out of their area and all the way into another bed of veggies. This helps with the height of the "bush" because we keep piling more and more vines on top of each other.
  We pulled up about 10 lbs of carrots today! Im excitted to can up some carrots here soon!
 Peaches and Poppy are our one year old Nigerian Dwarf sisters who joined our family this past March. We had wanted goats for a long time but thought we would have to live in the country and own acreage for them to roam...then we started reading about the Dervaes and realized that we did not have to own a large farm to have our very own homestead. The journey began and we were so excited!! I started looking into the ordinances for my city that pertained to owning goats and kept getting No after No after No. Throughout the next couple months, I did a lot of research and sought out advice from “experts”. Then I wrote up a petition with quotes from documented professionals, a letter from my country vet, property diagrams, and a detailed essay explaining the benefits of a backyard dairy goat. At this point we had already picked out the two precious sisters we wanted to bring home with us and the breeder said she could hold them for a couple weeks...the clock was ticking!! Now we had a photo of the girls to take with us on our quest so people could see our precious girls and realize they weren't 200 lb horned billy goats that would be eating down fences! With my pictures and petition in hand, I went around to all my neighbors to explain our new adventure and asked if they were willing to sign my petition. To my joy, they were all on board and graciously signed! After taking a look at our petition, several city officials from the animal maintenance department came out to survey the property and sign us a permit!
 We finished up some detail work on the back yard goat barn and went to pick up “the girls”!! We arrived at the breeders farm in the middle of a terrible thunderstorm and loaded up our new family members and headed home. We felt like new parents bringing home a baby as we all stared at each other for hours thinking “ok, now whats next?”. We even let the goats sleep in the house the first night due to the torrential rain falls and unsettling conditions outside. I felt like a new mommy the next few weeks...I could not sleep, I could not stop staring at them, and I was constantly worried and anxious they needed something or that they were “crying” too loud. Henry and Addie were ecstatic! They had 2 new little "friends" that would follow them absolutely anywhere they would go. The goats love to cuddle with the kids and were overly sweet as they would all play throughout the yard. Finally, we all got comfortable with each other and have settled in nicely!
 Goats are amazing creatures, they can be very strong willed and stubborn, but with a gentle hand from their owner and consistent training they will prove to have some of the most adorable personalities and sweet temperaments. This is only a small piece of our story but I wanted to share with all of you how our adventures began with Peaches and Poppy and hope to inspire others to see that behind 100 “No's” there might be 1 “Yes”.
 After all the leaves were harvested and sorted, they are rinsed to remove any debris. Tobacco leaves are quite sticky which makes rinsing them quite necessary to remove any dirt or bugs that have been stuck to the plant.

 We used a large knitting needle with thick twine to string all the leaves together. The vein of the leaves are quite thick and will hold the weight of the leaves perfectly.

 After the leaves are all strung together, they need to be hung in a temperature controlled location. We don't have a special temperature controlled location for our tobacco, so we just hung them in the garage where they could have a fan and constant air circulation.
  UPDATE: The tobacco leaves have been drying for several weeks and are starting to look quite nice! We have a box fan near the leaves helping to circulate air and aid in the drying process.


 Have a place ready for the firewood to go. Bryan set up posts 8 feet apart to help keep the wood neatly stacked throughout the season. (1 "Rick" is a single stack that is 8 feet wide by 4 feet high. And 1 "Cord" is 2 "Ricks"). Make sure the wood can be stacked somewhat conveniently located to the house...you don't want to be hauling firewood through the snow too far :) We have the majority of the wood stacked in the yard and then on a random nice day we will stock up the pile at the back door.
  Kindling will also be important, you need a way to get your fire started! Try to find free scrap lumber you can cut and split as well as stock up on newspapers (only black and white pages, not the colored pages - they will increase build up in your chimney).
  Last but not least, you will need a flame! Get matches, fire starters, lighters, or a hand held torch (which is my favorite!).
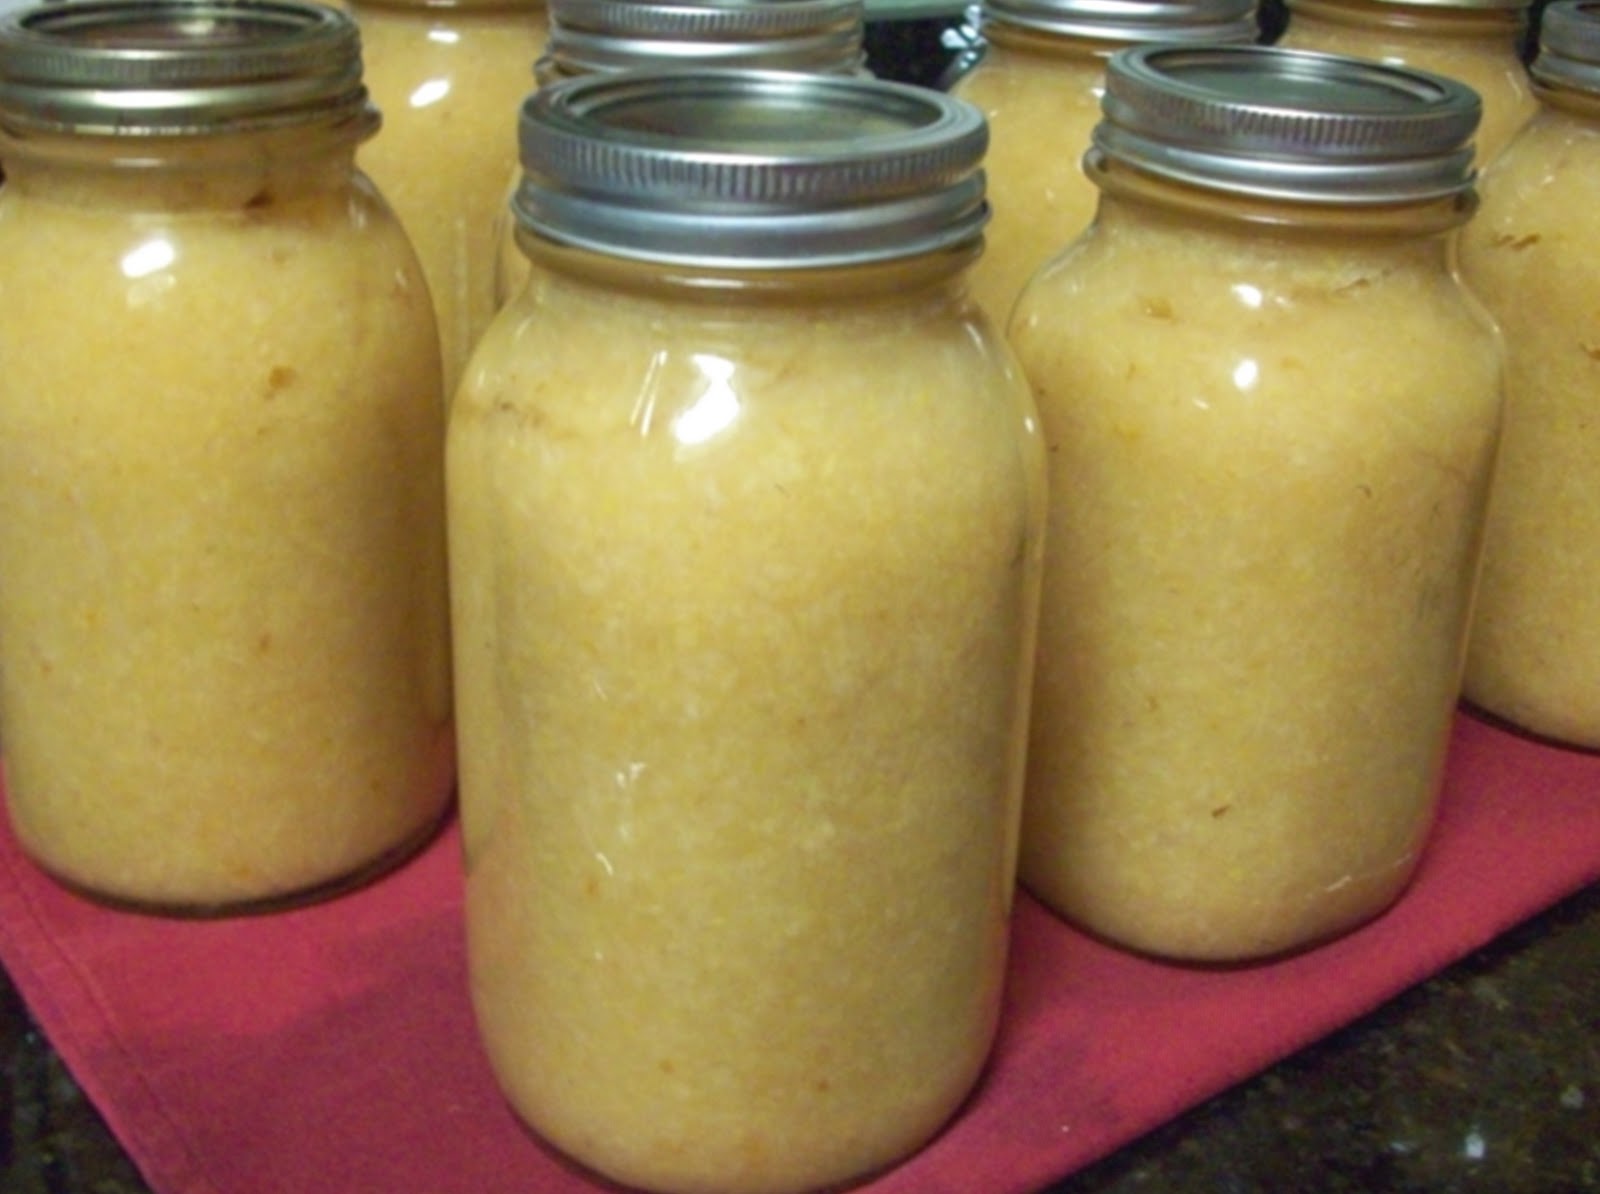
 After cooking and juicing all the apples and pears and straining all the juice from the pulp, I canned the pear juice and got ready for canning the apple pear sauce! The pears had a lot of excess juice, but the apples were fairly thick and didn't need to be strained.

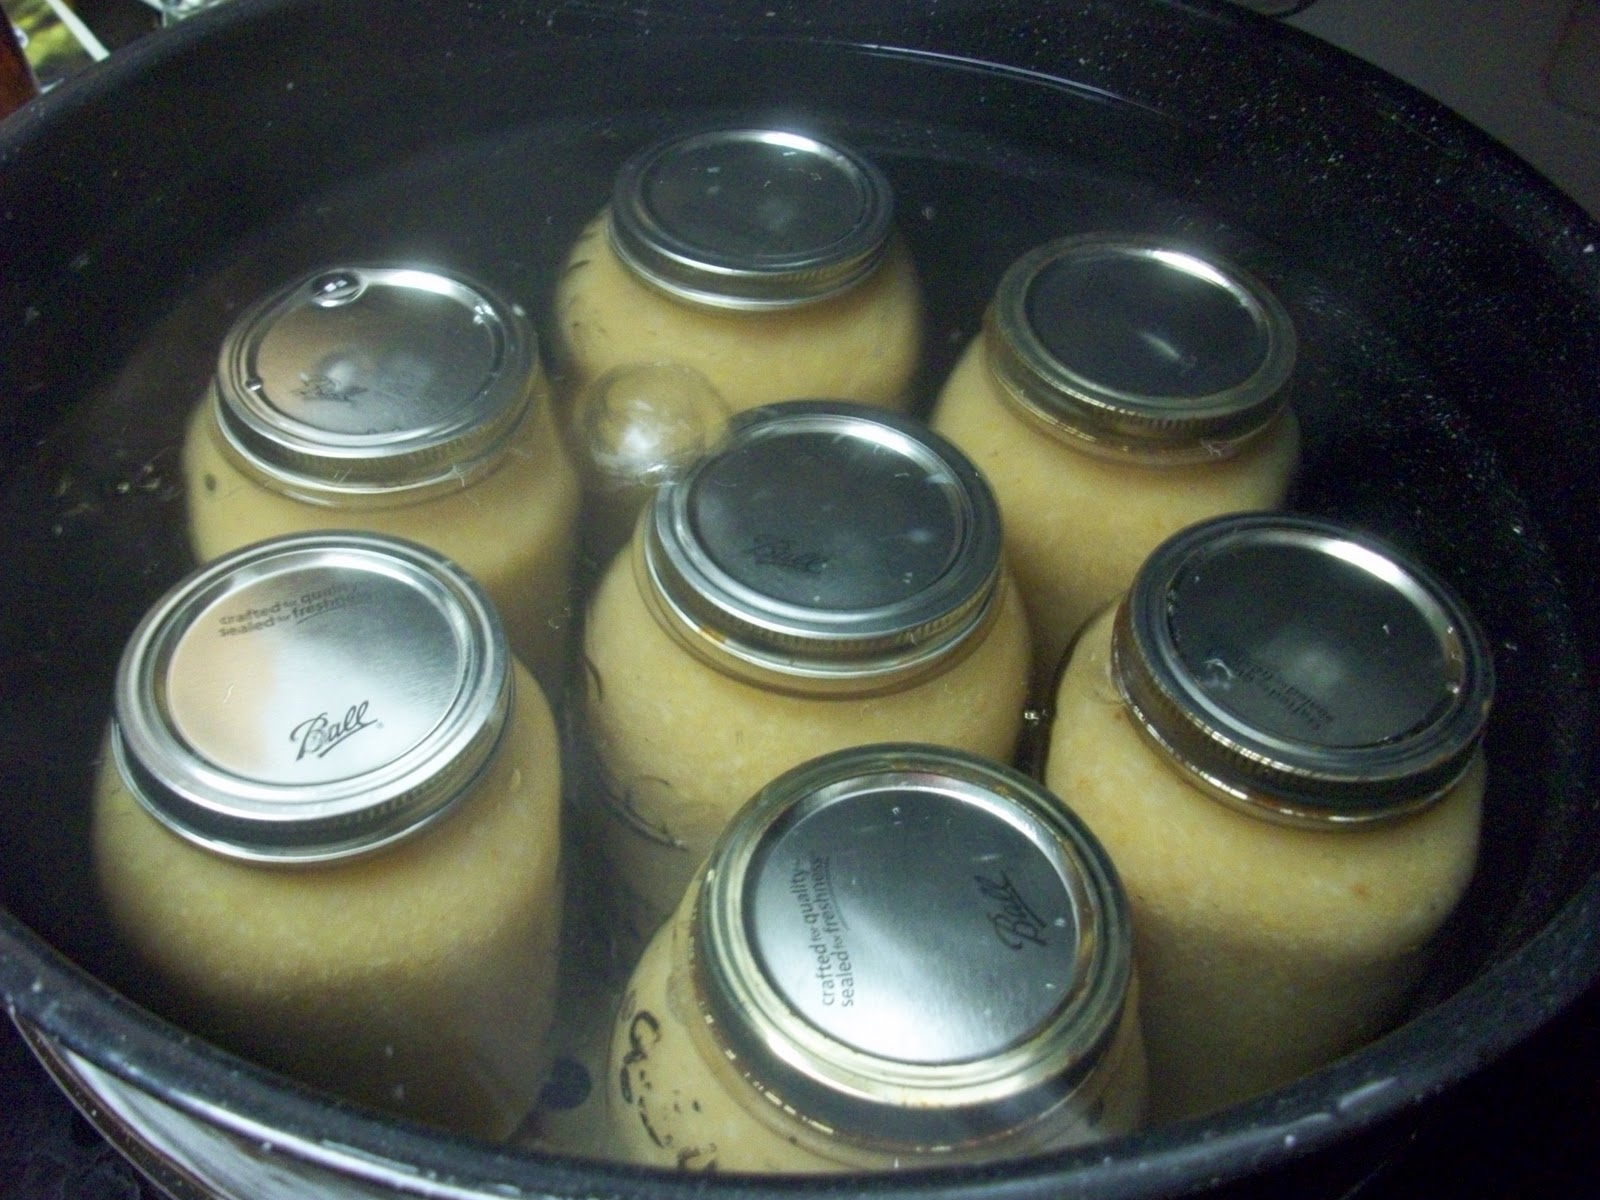
 I filled hot sterile jars with hot apple pear sauce and placed on sterilized lids and rings.