
Published with Blogger-droid v1.7.2


 My basil has reached the end! There was a storm that came through and from the rain and wind most of my basil was uprooted or laying over. So its drying time!! I clipped off all the basil that was laying over or uprooted and it ended up being 13 lbs...yes I cant believe how much basil we got from just a few plants!!! We still have about 13-15 more pounds out there, but it was still standing tall and growing strong so I left it! I was going to dry all the basil inside or in the dehydrator, but after seeing the large quantity I knew it wouldn't all fit in the oven or dehydrator so I thought I would give "air drying" a try!
  I started by attaching some string to a nail and stretching it across the front of the garage door so I could have a place for the basil to drip dry after being rinsed off...I knew I didn't have this much space in my house!
  I rinsed off all the basil and then tied them in bundles and clipped them to the string. (As you can see it is a significant amount of basil. I seriously had no intention of growing this much basil, but I am very glad I did now!!). I left the basil hanging throughout the remainder of this hot hot day to get rid of as much moisture as possible from the rinsing.
 Once all the basil is dry you can also use this time to save seeds!! The seeds are located in little pods in the flowers. I put a few arrows showing pods, although there are pods located at the center of each mini flower. Holding onto the stem, I would pull the flowers off of the stem.

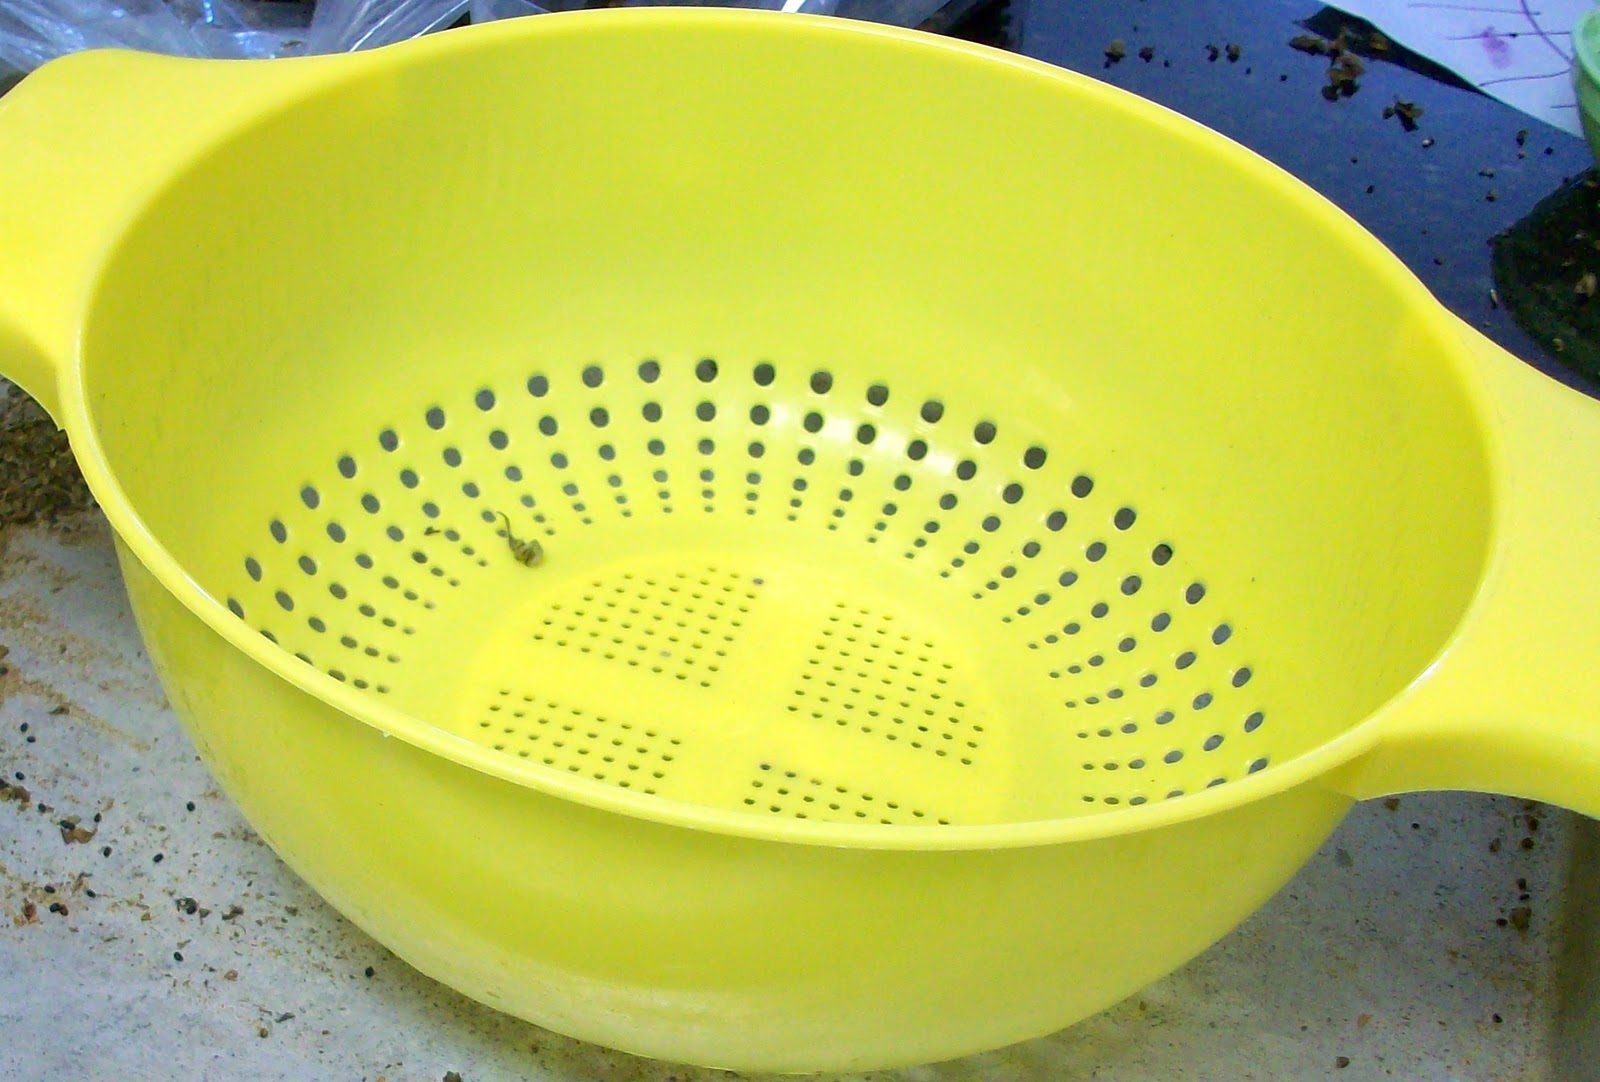 With that idea in mind and ALOT of dried basil to separate, I got a colander ready. This particular colander had small enough wholes for the seeds to fit through and fall out of the bottom, but to keep the main leaves in the bowl for saving!
 I stripped the leaves and flowers from the stems and filled the colander. Then I crunched up the leaves gently to help release the seeds and gave it a good shake...
 ...out came the seeds!
 I was left with quite a few dried stems so I put them in the backyard for the chickens and goats. The goats loved them and started munching away on them. I didn't think the chickens would like them too much, but they sure did get excited about the seeds I left behind on the stems. The chickens were pecking away and I was surprised how they could easily spot out a seed pod and with one swift peck the seed would fly out and they had their little treats :)
 I divided the basil into two 1 gallon jars (Yes, I have 2 gallons of dried basil! Wooo hooo!). One of the jars has the larger leaves and the other jar has the crushed leaves and a few of the dried basil flowers.
  I have a half pint mason jar full of seeds and small crushed leaves. I am still trying to figure out how to separate all the leaves from the seeds, or I might just end up planting the seeds with the loose crushed leaves that made it through the sifter...who knows, but I'm excited!!
 Its been pretty busy around here...fun and busy! The garden has been extremely productive and some of the spring plants are harvested and gone and we are onto fall planting! In the first row you can see our watermelon hills that we just planted a few days ago that took the place of all the squash and zucchini from spring planting. Then the next bed up you can see the celery looking full and the empty spot is where we had some lettuce and radishes, but that has been worked in with some compost and we planted more lettuce and some spinach and chives. The third row up is where the beans and potatoes used to be and we have harvested all those (getting over 100 lbs of vegetables from that bed alone) and are working the soil with several wheelbarrows full of compost to get ready for more bush beans, bush peas and some arugula. The 4th row is where the sweet potatoes, tobacco, peppers and basil are residing. The 5th row (which you cant see in this picture past the tobacco) has carrots, peppers, eggplant, basil, and some newly planted radishes (planted today). The 6th row has all our tomato plants (we call it the wall of tomatoes) and a row of celery in front of that. The back bed is where the asparagus was planted, but it doesn't get much sunlight because of the wall of tomatoes so I hope it makes it.
 This is a close up of the sweet potatoes, they are vining out everywhere and looking really good!
  The basil pretty much hides the rest of this bed...but its ok, I LOVE basil!!
  Eggplant! I couldn't be happier with this heirloom variety of eggplant! This one plant alone has 4 beautiful eggplants hanging off of it waiting for harvest!
  Close up of the celery and onions.
 The shade is creeping in on this bed, but this is where we planted the next round of radishes.
  Here is one angle of the "wall of tomatoes".
 Another angle of the celery and carrots.
 Sweet potatoes, with the peppers and tobacco in the back of this picture.
  Eggplant.
 Prepping the beds with rich compost to get ready for fall planting.
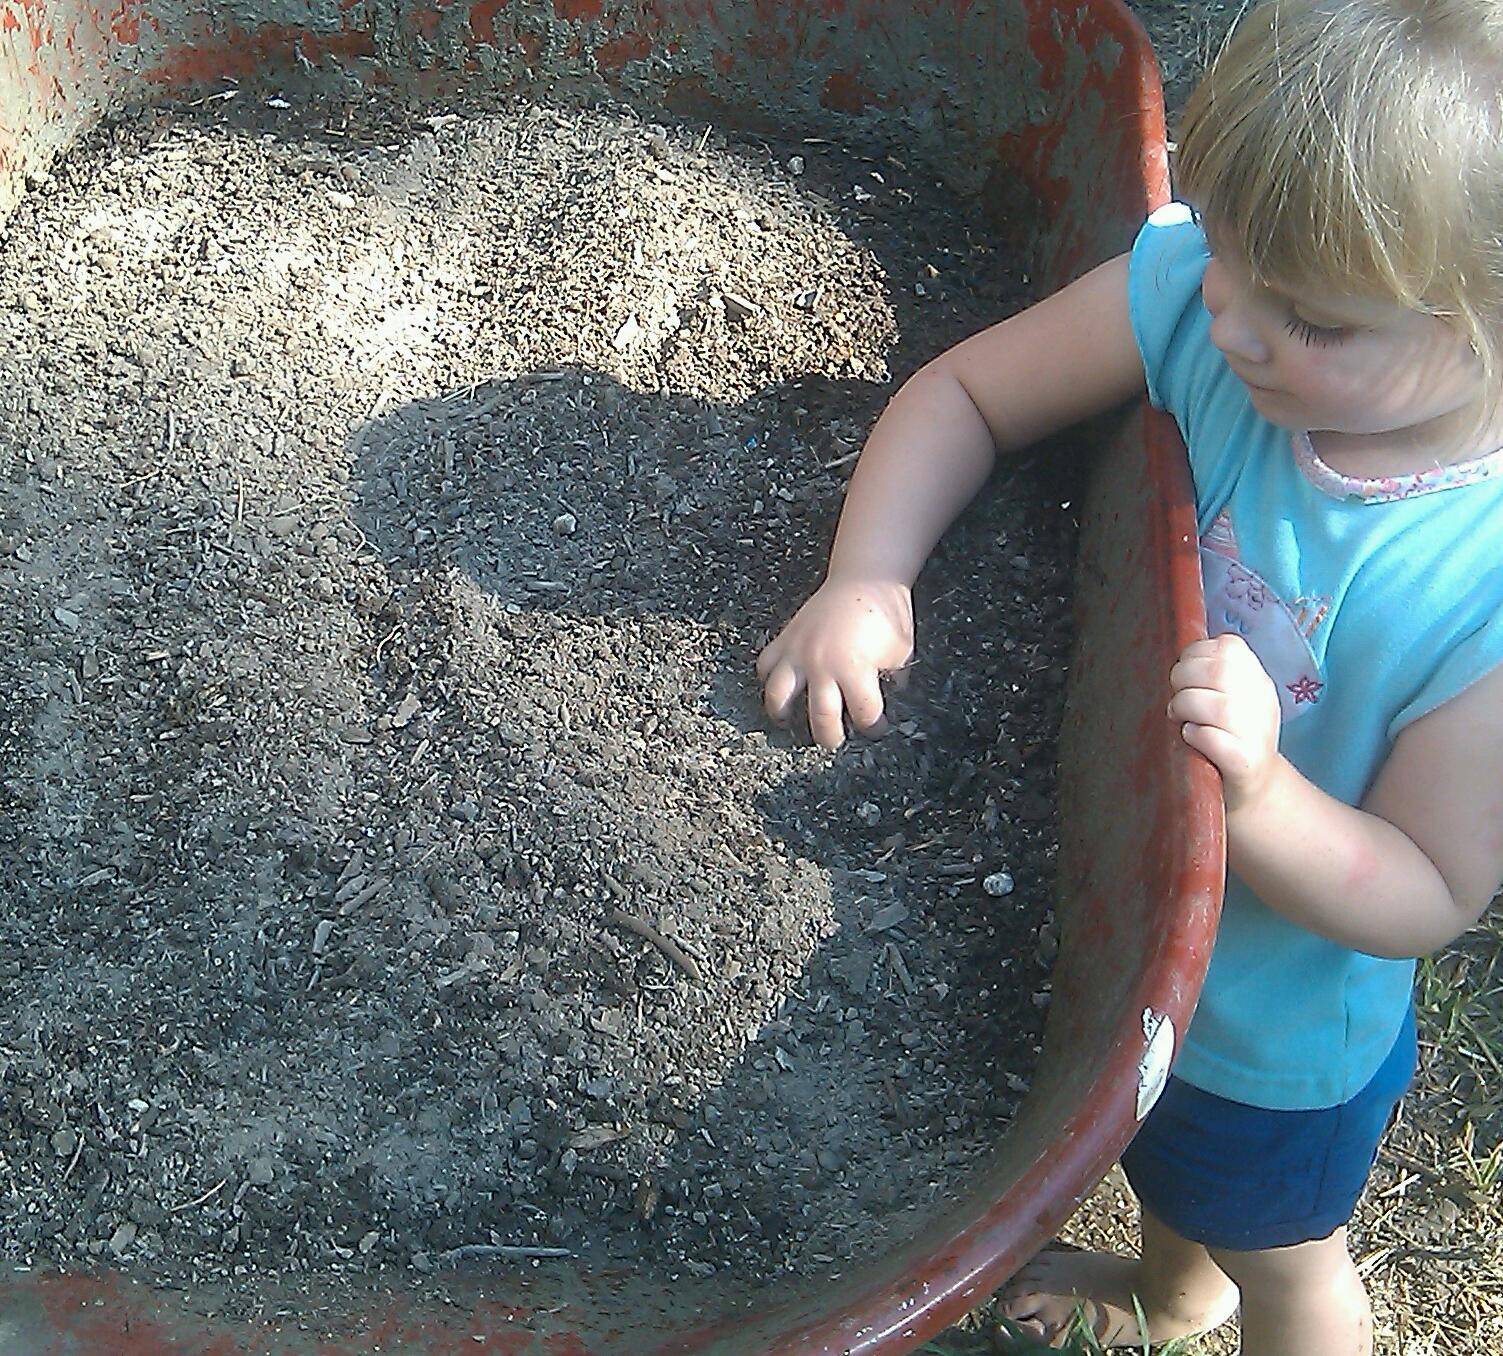 Addie was a big helper today with the compost.
  Strike a pose!! Addie loves "petting" the basil, she thinks the flowers are pretty...she used to pick them and I didn't care because we had SO many, but now she has lost interest in picking the flowers she just loves to look at them and smell them.
 The bees love the basil too!!
 We are trying a new method of composting (well new to us anyway). Compost corral! We were having a hard time with the goats and chickens getting in the compost and moving all 3 of our organized piles together, so we thought we would give this a try with one of the piles just to see how it turned out...we'll keep you updated!!

I love cooking with basil but sometimes I don't want to run put to the garden for just 1 leaf...problem solved! This smells marvelous too!! Edible flower bouquet
Thanks Jill :) its a beautiful idea and I think everyone should try this!!

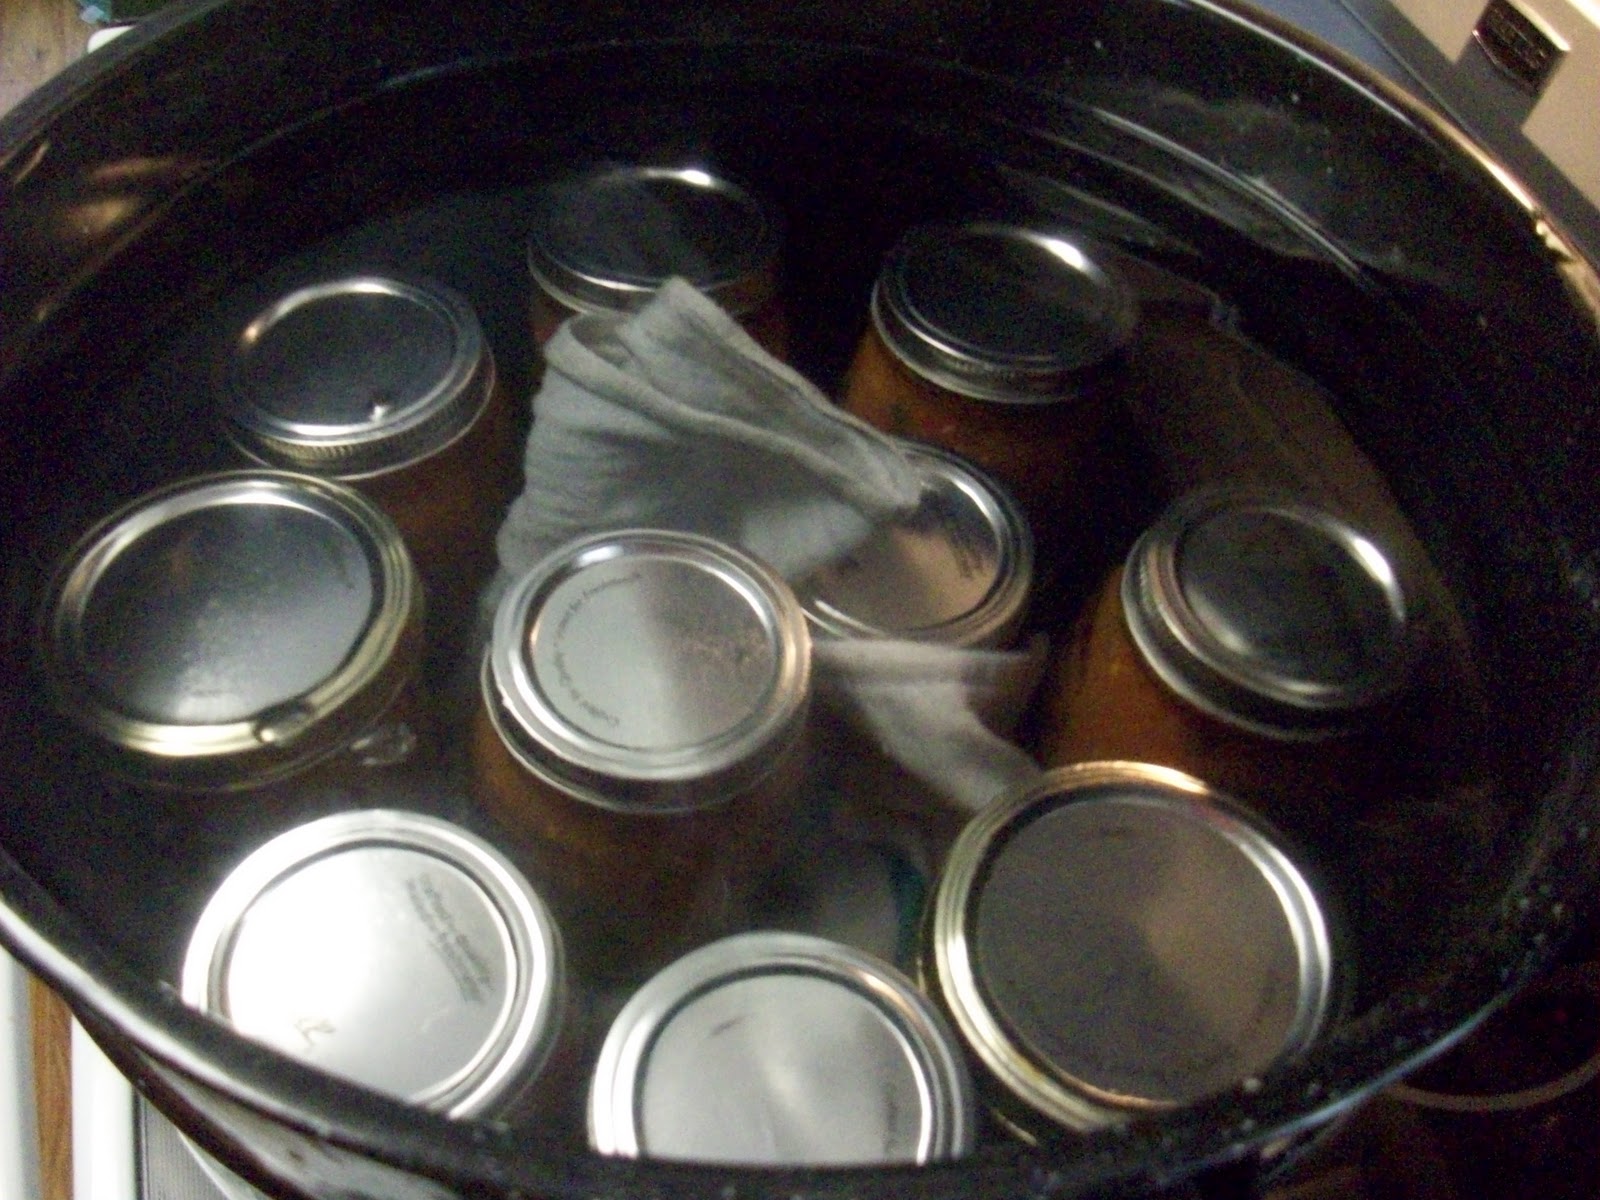
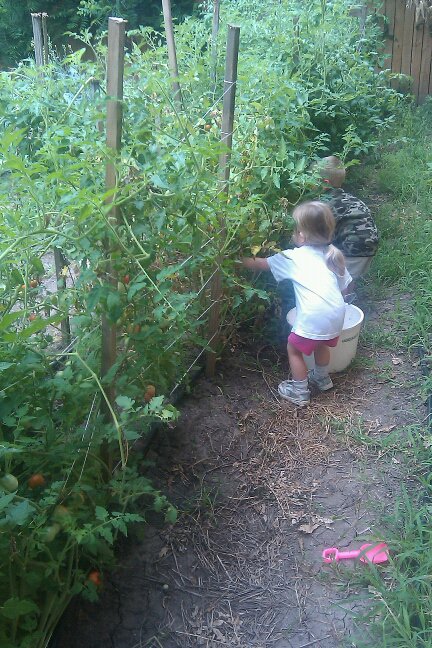 Here on our little homestead the tomatoes are starting to take off! The first week or so it was really hard to get any of them into the house because we would all eat them out in the garden...especially Henry and Addie, they would sit giggling in the corner eating all the red cherry tomatoes. I was making alot of sauces and pizzas but the tomato harvests have got to the point we are having more than we can eat in one day...so the canning begins!! I have really been looking forward to this so it was an exciting day for me :)
 Canning USA had a great recipe for canning tomato sauce with herbs...I also think one part that really caught my eye in this recipe was the addition of red wine...which I used our pinot noir we just bottle last month :) Another part of this recipe that I was particularly interested in is that they do not say it is necessary to blanch, peel, core and seed the tomatoes. Alot of the recipes I found said that I would need to take all that out which I felt like was a waste of a lot of tomato!!
  |
| Tomatoes, Onions, Basil and Garlic from the Garden! |




 One of my seasonal favs!! I couldn't wait for the first big tomatoes to rippen up so I could make this!!
 Step 2: Layer with Basil


