About Me

My photo
My tremendously supportive husband & I have 3 wonderful children, 1 dog, 12 laying hens, 2 dairy goats, 3 bee hives, and a 2000 sq foot vegetable garden on a small 1/4 acre lot in the city. In the center of it all is our small 1,000 sq foot house purchased in 2008 as a foreclosure that we fully renovated to host our growing family, home school adventures, and small home business (CozyLeaf.com). We have a desire to learn a path to self sufficiency finding ways to be good stewards of the resources God has given us. We want to learn to live with less as we laydown roots to our little homestead.
Showing posts with label dehydrating. Show all posts

Sunday, September 11, 2011

Sun Dried Italian Pepperoncini's

Sun Dried Italian Pepperoncini's
I couldn't be happier with the way these beauties turned out!! I have had a pretty tough time growing peppers in the past (besides Jalapenos and Melrose) but these Italian Pepperoncini's are doing great!!
I set out 2 drying screens in full sun on the back deck and every time we pick a red pepper I just cut it in half and toss it in-between the two screens. Drying time varies, but it is SO easy!! I LOVE sun-drying!! Just be careful not to leave them outside if it is going to rain ;) I woke up one morning to all my peppers re-hydrated from the evening rain...oops! 
I have 6 thriving Pepperoncini plants with alot more little "sweet with heat" drops of goodness! I cant wait to have a huge pile of dried Pepperoncini's!! Im going to leave some whole and then powder most of them up for a little extra hidden spice in my winter cookin :) 
Cant wait!!!

Saturday, January 1, 2011

Dehydrating Celery

Dehydrating celery has been quite simple :) We had about 30+ heads of celery come from the garden this year and I cut them all down and it has been a several day slow process to get them ready for drying. I gave away quite a few heads of celery and canned up some into a vegetable mix, I also froze 2 gallons of cut pieces...but then the rest was saved for dehydrating! I sure wish I would have taken better pictures of the process, but I didn't.
This could easily be done in a day, but I'm starting to spread out my projects and not have high expectations for finishing them super fast!
Harvest, Clean and Cut your celery (into 1/2" pieces). Soak in water and baking soda for about 10 minutes or so (to preserve the color), I used a large travel cooler to wash and soak all of our celery pieces. Drain and pat everything dry and get ready to start drying them. At this point I put all my pieces of cleaned celery into the refrigerator because it was getting late at night and I didn't want to mess up because I was so exhausted and couldn't think straight! It actually ended up being a couple days later before I got around to dehydrating the pieces, but it didn't affected the outcome! Place all your pieces onto your dehydrating screens. Directions said: Dehydrate 18 hours at 100 degrees. I actually ended up using my oven for this dry set and had it on convection 170 degrees, I ran the oven for about 3 hours and then got a little too nervous to let it run through the night so I shut it off and started it up the next morning. I was glad I did because this seemed to work quite well and alot of the pieces were quite dry just from a partial drying and then resting overnight. I ran the convection for another 2 hours at 170 and then let it rest again and started it up for 1 last run of about 2 hours.
This sure wasn't the best organized method, nor did I follow directions too well, but 7 hours of electrical usage is better than 18.
I am shocked with how well they dried! I am always amazed at how much space is saved by dehydrating!! I am becoming more and more fond of dehydrating! I had 4 packed trays of celery and in the end it all easily fit in the middle of 1 tray and was all nicely tucked into 1 quart sized canning jar!

Friday, August 27, 2010

Drying Basil and Saving Basil Seeds

My basil has reached the end! There was a storm that came through and from the rain and wind most of my basil was uprooted or laying over. So its drying time!! I clipped off all the basil that was laying over or uprooted and it ended up being 13 lbs...yes I cant believe how much basil we got from just a few plants!!! We still have about 13-15 more pounds out there, but it was still standing tall and growing strong so I left it! I was going to dry all the basil inside or in the dehydrator, but after seeing the large quantity I knew it wouldn't all fit in the oven or dehydrator so I thought I would give "air drying" a try!

I started by attaching some string to a nail and stretching it across the front of the garage door so I could have a place for the basil to drip dry after being rinsed off...I knew I didn't have this much space in my house!


I rinsed off all the basil and then tied them in bundles and clipped them to the string. (As you can see it is a significant amount of basil. I seriously had no intention of growing this much basil, but I am very glad I did now!!). I left the basil hanging throughout the remainder of this hot hot day to get rid of as much moisture as possible from the rinsing.
 Once all the basil is dry you can also use this time to save seeds!! The seeds are located in little pods in the flowers. I put a few arrows showing pods, although there are pods located at the center of each mini flower. Holding onto the stem, I would pull the flowers off of the stem.

 Once all the flowers are pulled from the stem, smash the flowers around in your hand and all the little seeds will come out! Very simple and a great way to get the kids involved!
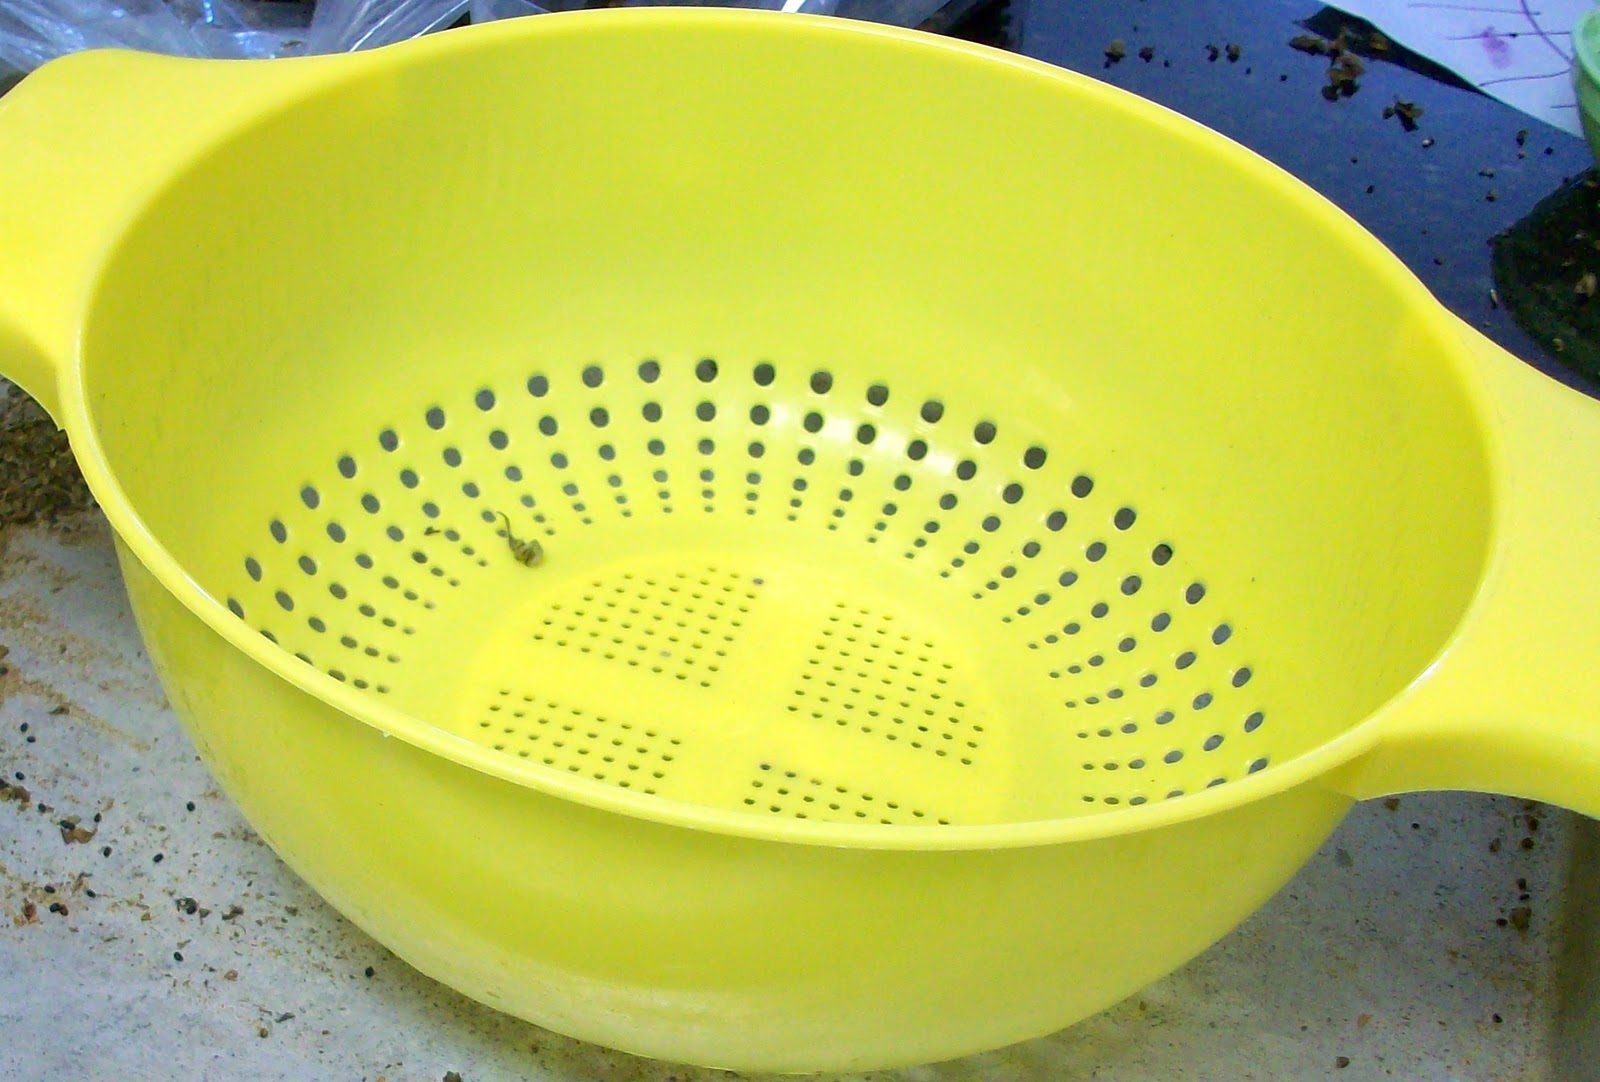
 With that idea in mind and ALOT of dried basil to separate, I got a colander ready. This particular colander had small enough wholes for the seeds to fit through and fall out of the bottom, but to keep the main leaves in the bowl for saving!
I stripped the leaves and flowers from the stems and filled the colander. Then I crunched up the leaves gently to help release the seeds and gave it a good shake...
...out came the seeds!


I ended up with so much dried basil and more seeds than I will probably ever need!!

I was left with quite a few dried stems so I put them in the backyard for the chickens and goats. The goats loved them and started munching away on them. I didn't think the chickens would like them too much, but they sure did get excited about the seeds I left behind on the stems. The chickens were pecking away and I was surprised how they could easily spot out a seed pod and with one swift peck the seed would fly out and they had their little treats :)
I divided the basil into two 1 gallon jars (Yes, I have 2 gallons of dried basil! Wooo hooo!). One of the jars has the larger leaves and the other jar has the crushed leaves and a few of the dried basil flowers.

I have a half pint mason jar full of seeds and small crushed leaves. I am still trying to figure out how to separate all the leaves from the seeds, or I might just end up planting the seeds with the loose crushed leaves that made it through the sifter...who knows, but I'm excited!!


Thursday, August 19, 2010

Dehydrating Eggplant

 I am really impressed with how easy it was to dehydrate Eggplant!

Slice your eggplant in the desired sizes and lay them on your dehydrating screen.

I placed an additional dehydrating screen on top of the eggplant and placed them outside on the back patio table since it was 100+ degrees that day! Then I brought them inside a put them in the oven on the lowest temperature possible (mine only goes to 170), until they were done. They are done when they are leathery and not crunchy. Eggplant can take up to 20 hours to dry.
They maintained the deep purple color just beautifully and they didn't discolor too much in the center either. I put them in a freezer safe bag and stored them in the freezer, you can easily store properly dehydrated foods in the pantry as well. I am very excited to use these this winter in casseroles and soups!

Sunday, August 15, 2010

Dehydrated Potatoes

I was a little worried about what to do with all our potatoes. I wanted to try and store the potatoes as long as I could and then decide to can them or dry them. I did some canned potatoes that turned out great and so I decided with this set to go ahead and do some drying!

Start off by peeling your potatoes (this is optional, but some people prefer to peel them for aesthetics and some people prefer to leave on the peel to try and preserve as much of the nutrition)

Then slice your potatoes. I used my Kitchen Aid Slicer Attachment and used the widest slicer to get the thickest slices I could...this made the slicing alot easier and faster.

Cover the slices with boiling water and once it reaches a full boil start the timer and boil for 8 minutes (Be careful not to let the potatoes boil over!! The starch is being drawn out of the slices and it will foam over if you arent careful, so stay close to your pot!)


After 8 minutes of boiling, immediately remove the potatoes from the boiling water and put them in ice cold water (The ice water stops the cooking process so you wont end up with mashed potatoes!)
After the potatoes have cooled in the ice water, remove them from the water and pat them dry. I have several varieties of potatoes so you can see the variation in color from each slice!

Lay out your slices on your drying screen or rack and put them in your dehydrator, oven or outside. Potatoes take an average of 8 hours to dry. I put mine outside in between a double screen for the majority of a sunny hot day (100+ degrees) and then brought them inside to finish them off in the oven later that evening once the heat died off outside.
All those potatoes compacted down and I am storing them in a gallon glass jar. I am very excited to use these in casseroles and soups this winter!!

Have fun dehydrating your fruits and veggies!! I know I am!!

Dehydrating Tomatoes

Dehydrating Tomatoes...this couldn't be easier!
We have been getting so many tomatoes (which is starting to taper off a bit with all this 100+ degree temps) and last week I had 16 lbs of tomatoes that I had to do something with right away so I sliced them up and placed them out on some dehydrating screens to make some sun dried tomatoes! (with the large tomatoes I sliced them about 1/4"+ thick and with Cherry tomatoes I cut them in half, leaving some of the smaller cherry tomatoes whole).

I sprinkled a little herbs and spices over the top of each tomato. And added some salt to help draw out the moisture...but just a tiny bit of salt or else the dehydrated tomatoes would be overwhelmingly salty.

Since the temperature was 105 degrees that day I thought I might as well set them outside! I placed them on our back porch patio and put some extra screening over the top of them (to keep away the anxious flies). I left them outside as long as it was hot and sunny and then brought them inside to the oven to finish them off.
I put my oven as low as it would go which was 170 and put a thermometer in on the top tray to make sure the temperature didn't rise too high.

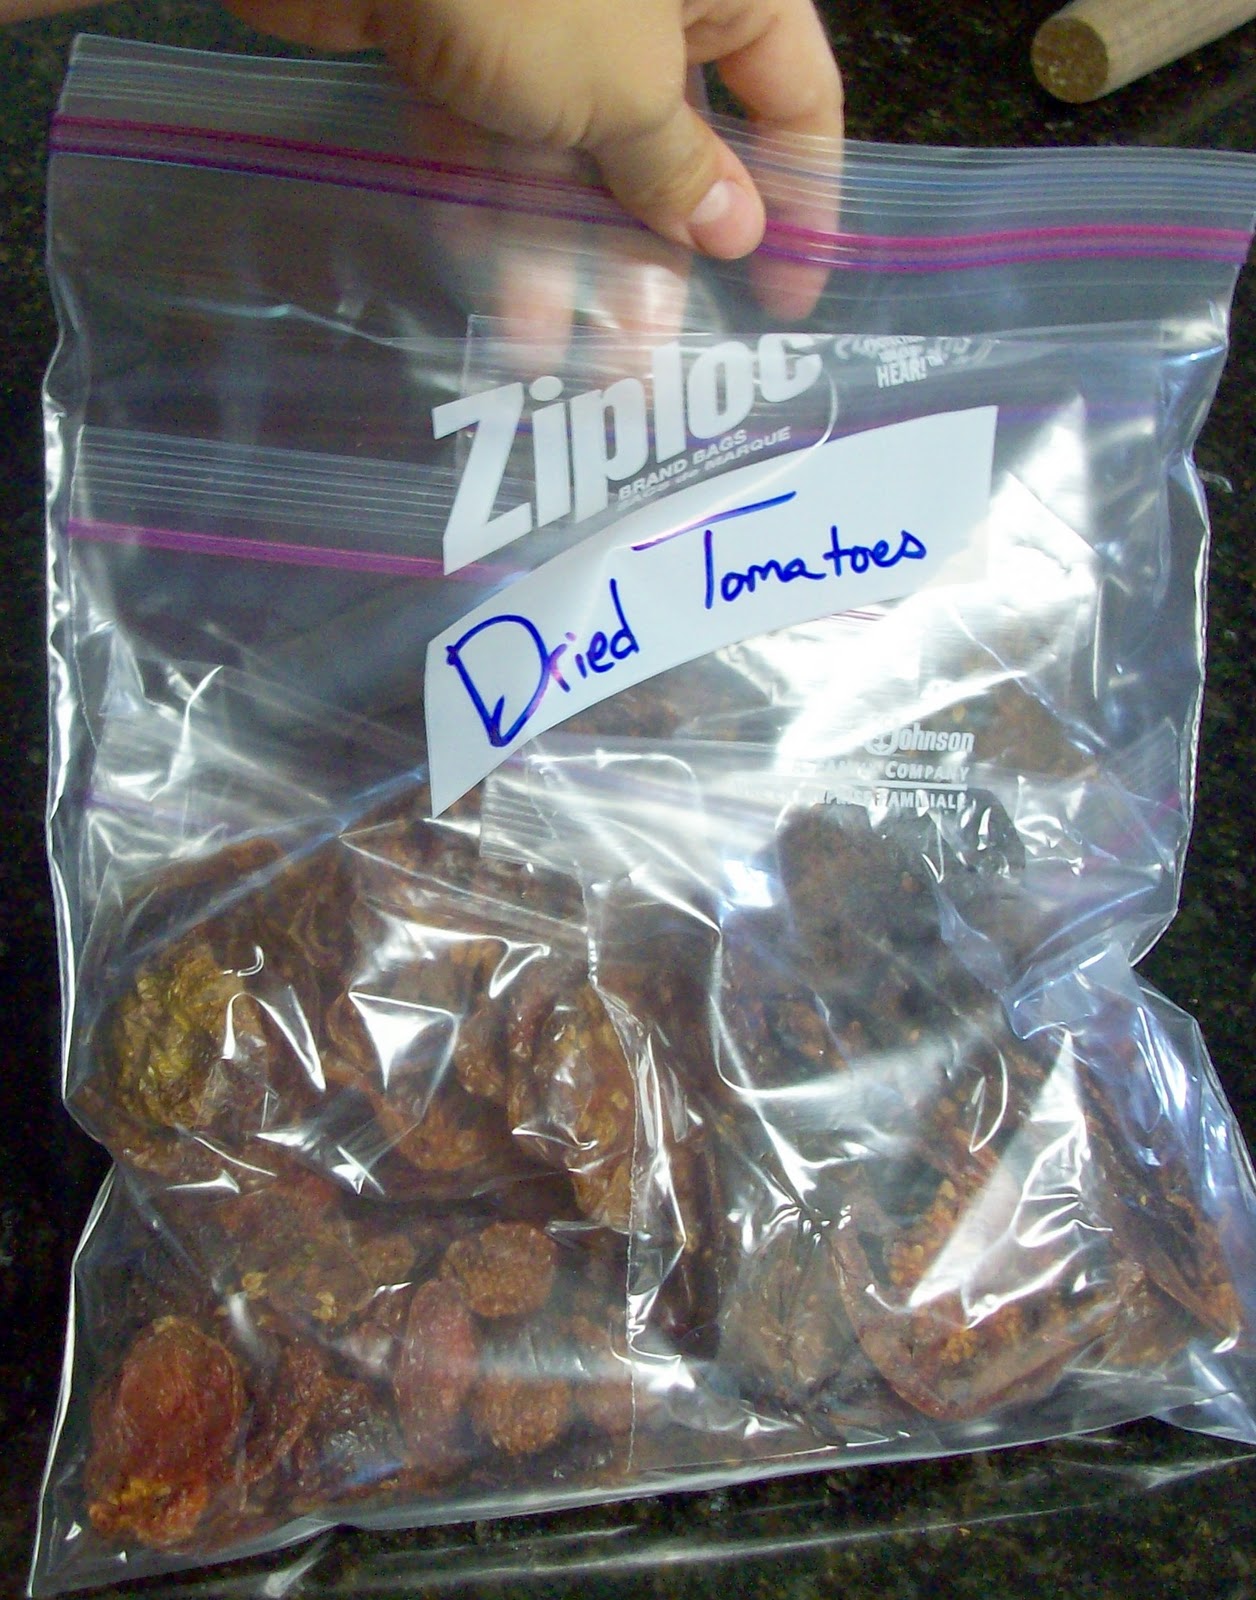
I ended up with a variety of sizes, from tiny tomatoes the size of grapes to large palm sized rings and they all turned out excellent!!

I was going to store them in the cabinet, but put them in a freezer bag and tossed them in the freezer because we had extra space. The 16 lbs of tomatoes ended up being a little less than 1 pound after they were all dehydrated. I really look forward to using these this winter for sauces, casseroles and soups!!