Grafting plants for your garden!! I love to learn new things and this is something that has thrilled me since I first heard about it last year. I have to admit I was a little nervous though. For some reason it seemed like a ridiculous amount of work for a few plants...but im beginning to be more and more excited! It really has not been that much work at all! We always start our garden from seed inside...so that wasn't a new step. Then this grafting process only took about an hour (which was with the help of all my kids, me taking pictures, and a few drop in guests that ended up attending the "party"). The research, on the other hand, has definitely taken a lot of time...but I LOVE research!! I also chose not to do my entire garden as grafted plants. I am doing 1 plant of each variety as a grafted plant and then the others are regular...this way I can see how vigorous and disease resistant the grafted tomatoes are (or aren't) in direct comparison to their ungrafted counterpart...
don't worry, I will definitely be posting pictures throughout the season of their progress and my research!
Watch this video and he will show you 2 different methods of grafting...I went with Top Grafting.
Supplies Needed:
- Rootstock plant - (the base and roots you want to keep. I used Maxifort Rootstock)
- Scion plant - (the top and fruit you want to keep. I used various heriloom plants)
- Grafting Clip (I used 2.00mm silicone grafting clips)
- Razor Blade
- Pots for post grafting planting
Grafting Clips:
 Razor Blade:
 Make sure your razor blade is clean and sharp!
Cut off the first leaves from both plants.
Find a rootstock and scion plant that have very close to the same size stem.
Oh my Oh my...I seriously hesitated several times and was VERY nervous before I took my first cut! It was quite amusing! But I was so nervous!! I kept thinking how odd it was that I grew all these little plants from seeds and now I was about to hack off the top of them all and stick 2 different plants together and hope they survive!
Well deep breath folks cause we haven't come this far for nothin!
Cut off the top of each at a 60 degree angle. Slip the clip over the rootstock and then slide in the scion to match up.
Slide them together gently to touching...dont cram them together forcefully
Gently repot your plant into the soil pot.
Once you have all your plants successfully grafted you will put them into a "healing chamber" for several days to give them an opportunity to fuse the graft. You don't have to buy fancy equipment to make a healing chamber, you just need humidity, darkness, and warmth.

Water and Mist all your plants well:

I put my plants into a plastic storage container with a cup of hot water:

Then I misted the top of another storage container and set it on top to form a humid environment:
I put a towel over my container to keep it dark.
Day 1-4 do nothing...just let them set in their warm, dark, humid place. Then the 4th evening just remove the top cover to let them slowly awake from the healing chamber. Keep them in a low to light area that night and next day. Then just begin hardening them off by introducing a bit more light each day till they are good with full sunlight!
This same process can also be done with eggplant, peppers, or whatever plant you desire to have a strong root system!!
Tip: Since all of my rootstocks and scion plants were not perfectly the same stem size, I chose to pull them out and match them up prior to cutting to make sure I had the best matches...and rearrange if necessary. Be VERY careful not to confuse the rootstock from the scion...that would be bad! I laid out all my scions first under their name on my tags...then matching up the best Maxifort was easy.

 Have you ever had a fresh salad? I mean VERY fresh, like you just picked it 5 minutes before you ate it fresh! If you have, then you know that there is just about NOTHING that can compare with the flavor of a fresh picked salad!
  This year I decided to try my hand at micro-greens! I have heard so much about them and how they take the taste of a salad to a whole new level! After having my first fresh picked micro-greens salad last night, I can tell you that YES YES and YES, they are right!
  Most micro-greens are grown in a flat under a controlled environment. That is the main reason I haven't tried to grow them yet...I don't want to mess with another garden when I have the massive one in the backyard to tend too. So, I took a 3'x6' section on my garden and designated it the micro-greens section. Then I went to my local feed store and purchased bulk seed. They have a section of bulk seeds that you pay per scoop. I got quite a good variety: Kale, Arugula, Mixed Lettuce, Chard, Spinach...and a few others. I had about 1/2 cup of tiny little seeds that I spread evenly throughout my 3'x6' space. After a few days of good watering they came up quite nicely!
 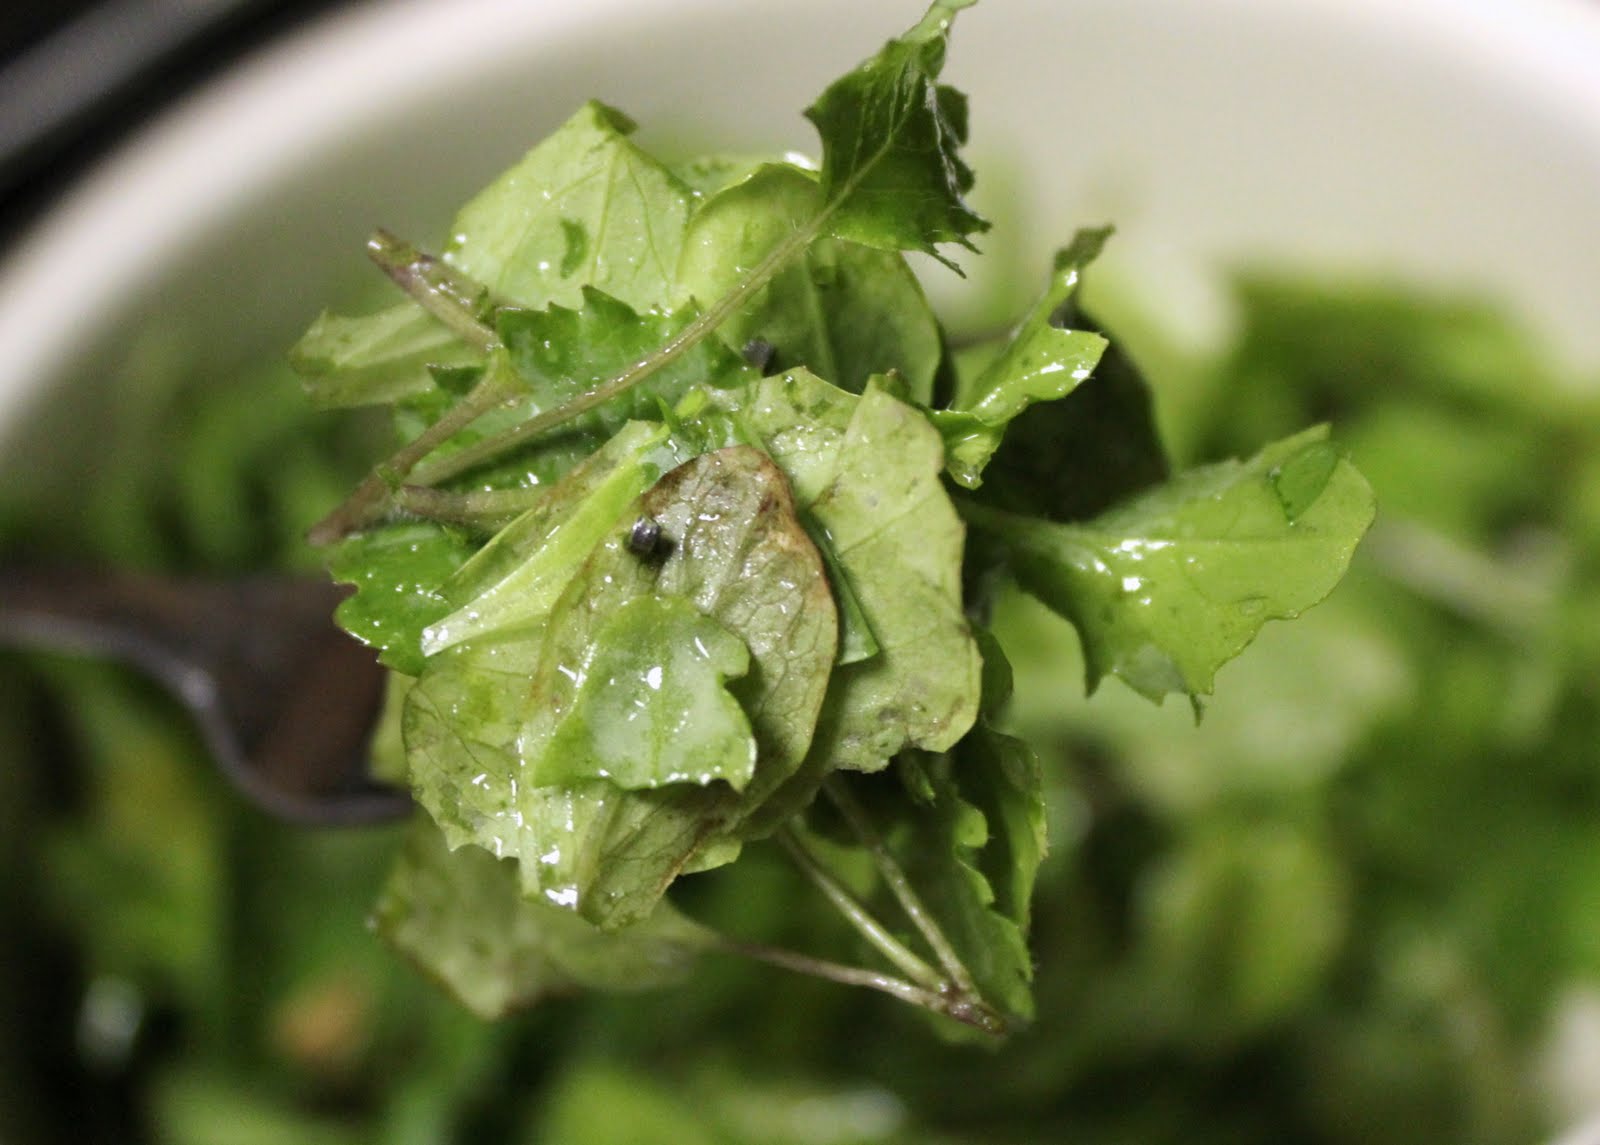 I clipped the tops off of a little 1 foot square and had a large salad. And folks let me tell ya, the taste was out of this world! I didnt even use salad dressing, I just added a tiny bit of olive oil and a dash of vinegar. I am just thrilled with these microgreens! They were much easier than I expected and ridiculously good!


