About Me

My photo
My tremendously supportive husband & I have 3 wonderful children, 1 dog, 12 laying hens, 2 dairy goats, 3 bee hives, and a 2000 sq foot vegetable garden on a small 1/4 acre lot in the city. In the center of it all is our small 1,000 sq foot house purchased in 2008 as a foreclosure that we fully renovated to host our growing family, home school adventures, and small home business (CozyLeaf.com). We have a desire to learn a path to self sufficiency finding ways to be good stewards of the resources God has given us. We want to learn to live with less as we laydown roots to our little homestead.
Showing posts with label diy. Show all posts

Monday, April 30, 2012

Make your own baby food...seriously do it!

After I had Henry and Addie the time quickly approached when they were onto eating food. I bought the baby food at the store and quickly found myself spending a small fortune on this tiny little person who hardly ate anything!! But for some reason I was fully convinced that if I fed them anything other than the food provided by Gerber that my child wouldn't develop properly... Fast forward a few years and now we have George. First off I dont have it in my grocery budget to afford all those tiny little jars of mush and also I have found too much research on how it really isnt that good for your baby either. 
I started George on food at 9 months old and he progressed from the blended food right into everything else quite quickly! Within a month or two he had plenty of teeth that I was just feeding him small cut up pieces of whatever we were having for dinner. I remember it being so much more of a challenge when dealing with all the blended jars of baby food for Henry and Addie. 

I wanted to start him out on squash. So I had saved a butternut squash from last years garden and I cut it in half, scooped out the seeds and baked it at 350 for 45 minutes or so (till it super soft). He liked the squash, but LOVED carrots!! I did them the same way!
It really doesnt get much easier than this!! 

Thursday, March 1, 2012

NutriMill Wheat Mill for fresh ground wheat at home

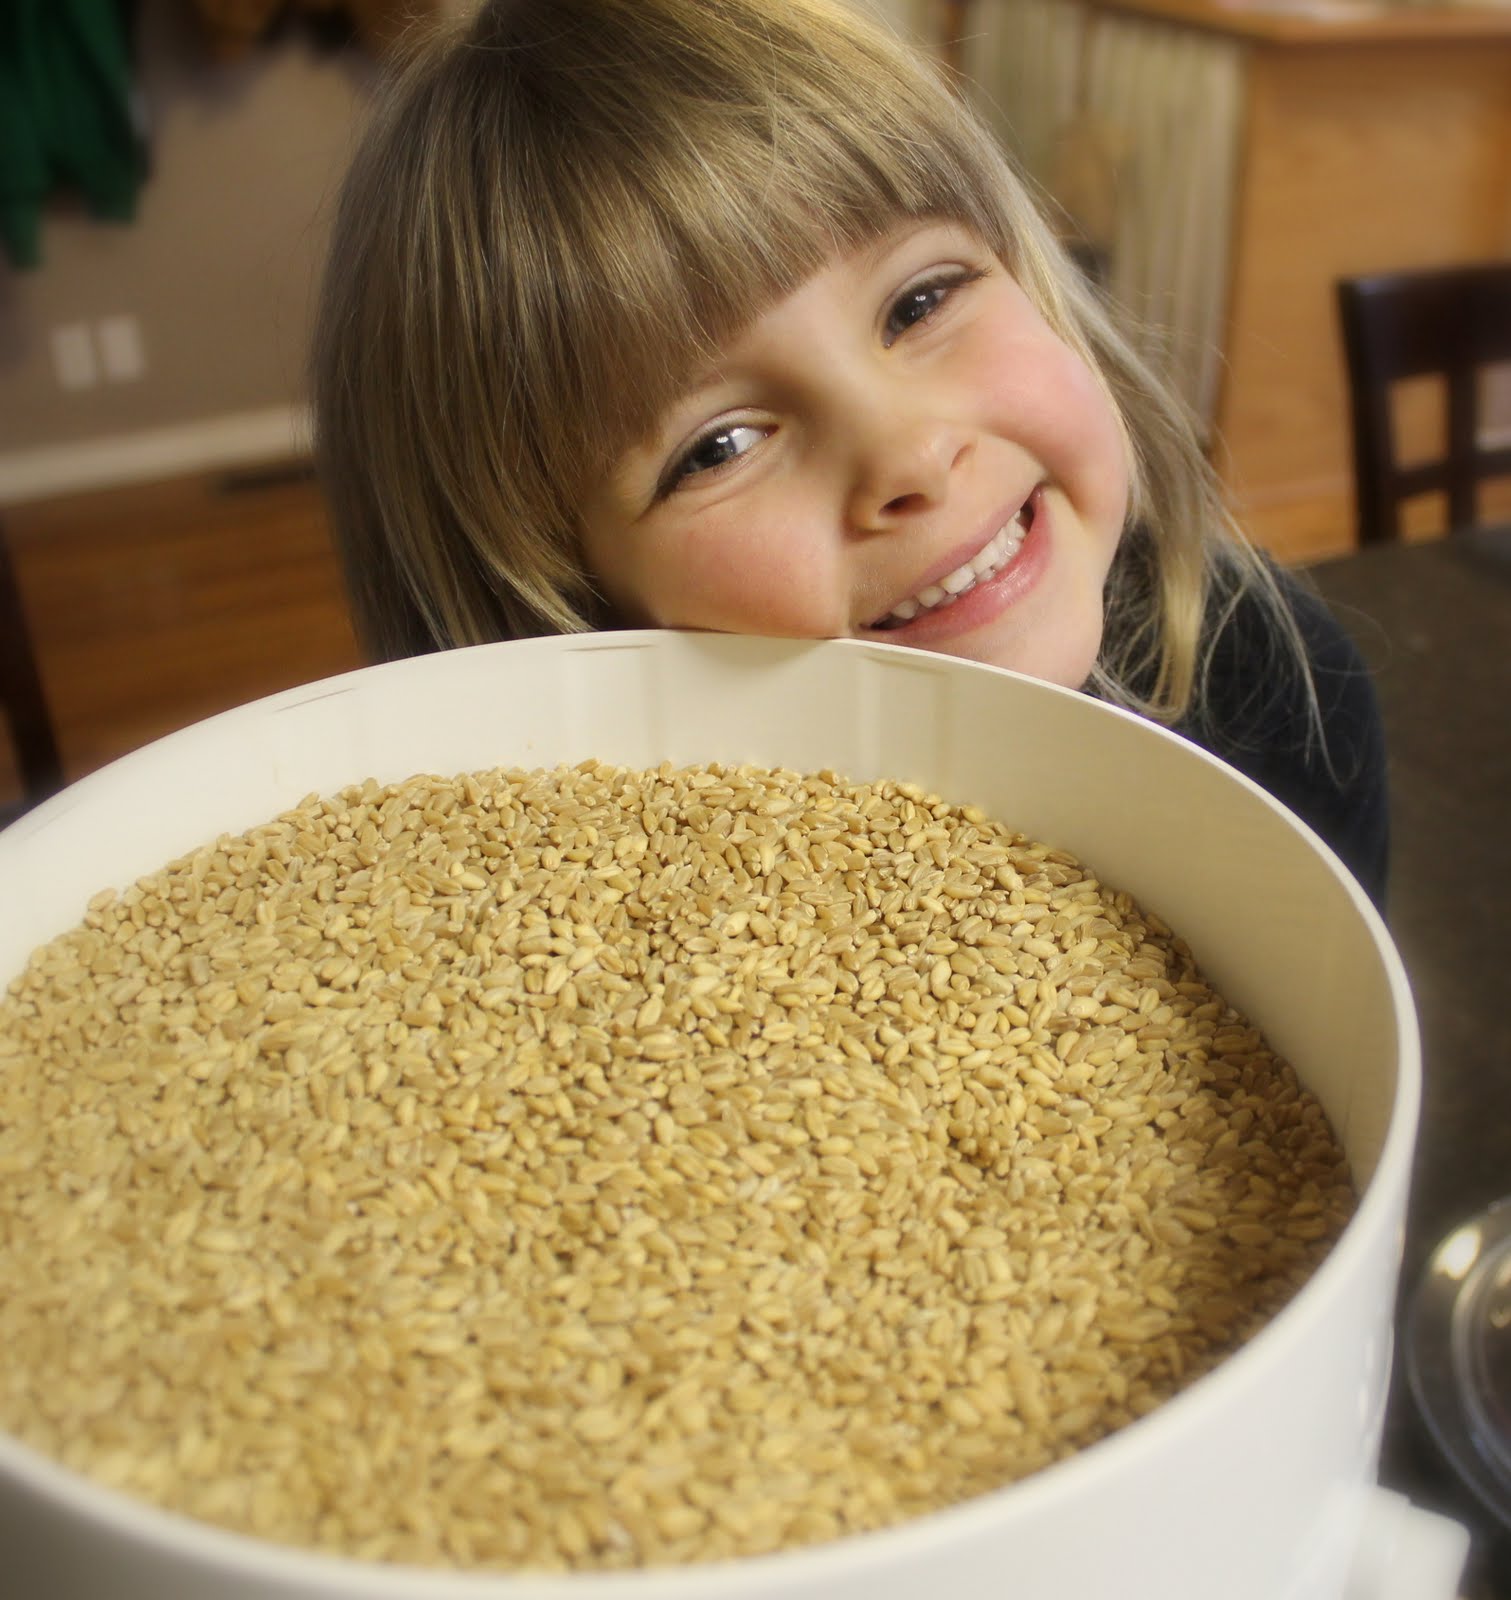
I adore my NutriMill!! I have had this machine for about 5 years and it has never skipped a beat and I sure have ground a lot of wheat with it! 
Addie loves to help me "keep an eye on it" while it grinds. It smells so fresh and yummy!!


Wheat berries to delicate warm flour ready for bakin! 
And of course we need to play in the flour on the counter...can't let that go to waste!! 


From wheat berries to fresh ground whole wheat flour within minutes!

I highly recommend the NutriMill Grain Mill!!!

Saturday, February 25, 2012

Homemade Powdered Laundry Detergent Recipe DIY with Pictures

After digging up advice from my dear friends Erin and Annie (who are both my "soap experts") and arming myself with these 4 ingredients I am ready to take on homemade laundry detergent!! I've been experimenting with a few recipes the past few weeks to find out what works best for me and my family!! I'm so excited about this!! I cant believe I haven't tried this before, its ridiculously easy!!! I prefer the powder detergent...just cause every time I have liquid detergent I end up with a big spill and it is quite frustrating to clean up! At least with powder you can just bust out the vacuum and not have to worry about a ton of sticky suds to mop up. 

However, I was very frustrated with the idea of grating the soap and having chunks of soap for my machine to have to dissolve. I want to be able to use cold cycles and not wind up with chunks of soap melted to my clothes in the dryer. This is by far my favorite of the recipes...which is actually the combination of several recipes because it just works well for me and my family!
  • 2 cup Borax
  • 2 cup Washing Soda
  • 1/2 cup Baking Soda
  • 1 Bar Fels Naptha
This size batch last me at least a month to a month and a half...and let me tell ya, I do alot of laundry around here! Its so ridiculously easy and FUN and my laundry is so fresh and clean! I use 1-2 tablespoons per load. I have a front load Whirlpool duet washing machine and this recipe works great with my machine!

I also found a few tips and tricks for getting the soap bar super fine...and this is SO FUN!! I use it as our science experiment for school that day and the kids loved it!


1 bar of Fels-Naptha on a large plate...put it in the microwave for 90 seconds. The small air pockets in the bar of soap will expand in the microwave causing it to puff up like a sponge! After 60 seconds it has started to expand. After 90 seconds its all puffy and crumbly! Just let it rest & cool in the microwave...otherwise the smell will be quite strong at this point!  


Since the Soap bar has been puffed up and all crumbly you don't need to worry about it turning into a brick at the bottom of your blender...which happened to me once and is quite frustrating to clean out. Then you just need to break it apart into the blender with your Borax and Washing Soda and you have a super fine Laundry Powder!! 

When your clothes are clean and smell fresh, it actually makes doing laundry fun...especially when you have this little laundry buddy...

Friday, September 9, 2011

Knitting my first Scarf

Oh I sure do love to learn new things :) Seeing as I have never learned to knit I thought it would be fun to give it a try!! It SURE IS FUN! I made this little scarf for Addie and she LOVES it! I messed up quite a few times ;) Several of my mess ups I was able to "fix" but there are a few that are probably fixable...but I'm just clueless as to how to do it! The "strategically places" pom poms hide most of my errors ... I sure do love those little pom poms! I want to make her a matching hat JUST so I can put a HUGE cute Pom Pom on top ;)

Monday, August 15, 2011

Kitchen Remodel 2009

These pictures are long overdue! I have a whole section on renovation and yet I had not posted any "after" pictures! To be perfectly honest, I have not even taken all the "after" pictures because this little place is constantly in remodel or one more project is always on the horizon. 
I thought I better start updating as many projects current status and then even more picture updates to come as we finish various projects.

Welcome to our Kitchen!
from the "before" picture on the left, you can tell that we had to start over! We tore everything out...even the walls and designed the kitchen into a U shape with a large open bar on one side. We had to move around all the wiring and plumbing to make room for the appliances we wanted.

This wall was the step down entrance into the "den", but a portion of the den became the laundry room so that is where we put a cut out wall for the pantry and refrigerator to set. 

The entrance into the kitchen was a small door which we eliminated as well and made a large archway over the bar to give the room a good open floor plan. This was crucial for the layout of the house, since the house is only 1000 sq feet we wanted to make sure to make it as open as possible to make it "feel" larger :)

*notice Peaches standing on our back deck railing ;)

We installed the cabinets, appliances and plumbing ourselves, but had the counter tops installed by a granite company. We were able to take our time and find several sales on cabinets and counter tops and got a custom kitchen for a fraction of the cost!!
This was a tremendous amount of work, but well worth it in the end!! 
If I had to do it again, would I do anything different? Nope :)

Monday, July 4, 2011

Preparing Top Bars for Bee hive

First you need to collect all your boards. They can be anywhere from 1 3/8" to 1 3/4" depending on the bees. We purchased 8 foot 1x2 boards to cut down (which are 1 1/2"). Cut the boards to the top size of your bee box. 

Pull your cotton string tight across the center of your board and clamp each end so the string stays in place while you apply the wax line. 


 At this point you are ready to melt the wax onto your cotton string line. We have tried several methods to get a good even wax line and the best and quickest method is to use a blow torch on low. 


Clip off the end of the string, toss the board into the pile, and start the next one!

The top bars will all lay side by side on top of your bee box (wax side down).
Within a matter of days your bees will start building their own comb and storing up honey!