About Me

My photo
My tremendously supportive husband & I have 3 wonderful children, 1 dog, 12 laying hens, 2 dairy goats, 3 bee hives, and a 2000 sq foot vegetable garden on a small 1/4 acre lot in the city. In the center of it all is our small 1,000 sq foot house purchased in 2008 as a foreclosure that we fully renovated to host our growing family, home school adventures, and small home business (CozyLeaf.com). We have a desire to learn a path to self sufficiency finding ways to be good stewards of the resources God has given us. We want to learn to live with less as we laydown roots to our little homestead.
Showing posts with label canning. Show all posts

Saturday, April 14, 2012

Turkey Stock


Whenever you cook a turkey or chicken, dont throw away the bones! I always save my bones in several large freezer bags until I have plenty of supplies to make a large batch of stock!
Then I just put all the bones into my large stock pot with few onions, carrots, celery, and garlic...cover with water and let it simmer!! Now this is one of my favorite things to do in the winter when the wood stove is roaring because I just let it set on top of the fire and boil all day! But when I am running the stove top I usually will just boil for a few hours. 
Strain out the liquids and its that easy!! You know you have some good stock when it gels. I usually let it cool after straining it and then divide it up into various pint sized canning jars. We use it up fairly fast, but it can easily be pressure canned or jut put into the freezer. Ive also taken the gel chunks and put them into a gallon size freezer bag...then they are really easy to just pop off a chunk out of the freezer to add a little extra flavor and nutrients to a meal.

Thursday, December 9, 2010

Busy Busy gettin things done!

It has been delightfully busy around here and I'm doing everything I can just to keep up with it! Peaches and Poppy are home!! They stayed with the breeder for almost 3 weeks just to make sure both girls were "well taken care of" :) Note: If you are considering getting and breeding goats...wow, brace yourself for the smell!! We did not want a billy goat because of the horrific smell they produce but I never considered that my does would completely stink of billy goat smell when we brought them home. Wow, it is bad! The breeder said that the smell would just go away, but its been a week and they still stink. (Ill let you know how it goes and what we end up finding to get rid of the smell.) It has been sad because Henry and Addie are so excited to see the goats and all I keep saying is "AHH, don't touch the goats!". So, if you are thinking about getting and breeding goats, make sure you are prepared for the "after smell" as well as some remedies to eliminate the smell from your does immediately!

While the goats were gone for a couple weeks Henry picked up a few extra responsibilities around here - bringing in firewood, watering the animals and putting the chickens "to bed" at night. It has been extremely helpful because he loves being a "big helper" and those are a few extra things that I don't have to worry about being done anymore :) It does take quite a while for him to do each job, especially since he can only carry in 1 piece of firewood at a time, but he loves it and eventually he will get really fast at each job! He gets really excited to get his boots, jacket, gloves and hat on (all  of which he does even if it isn't that cold outside) and runs outside while Addie monitors the back door for him and opens it when he comes back up with an armfull of firewood!


In other random news, we also had a hawk attack one of our chickens! I looked out in the backyard as it landed on the chicken and they both started a rolling flapping fight through the leaves...thankfully it only lasted about 3 seconds because Sarge saved the day! If that hawk would have hung around 1 second longer we would have seen a rolling flapping fight between Sarge and the hawk, but the hawk flew off. Im sure it will be back, but Sarge is definitely on high patrol these days!

In garden/canning related news:
I also canned up 7 jars of mixed vegetables (excellent for pot pie!). I really wish I could find the recipe I used for the mixed vegetables! I'm seriously loosing my mind because I just canned them up last night and I cant find that recipe anywhere!! I sure hope I used an actual recipe and didn't accidentally combine 2 different ones! I would love to share what I did with you all, but I have no idea what I did :) All I remember is that I used about 29 cups of vegetables (potatoes, carrots, celery, onions), covered them with water, boiled for 10 minutes and then filled sterilized jars with vegetables and water, added 1 tsp canning salt, and processed in a pressure canner for 85 minutes. Easy pot pie: 1 Pie Crust, 1 Can of mixed veggies (drained), 1 can of canned Turkey or chicken with stock...bake and dinners done!

Monday, September 13, 2010

Canning Apple Pear Sauce

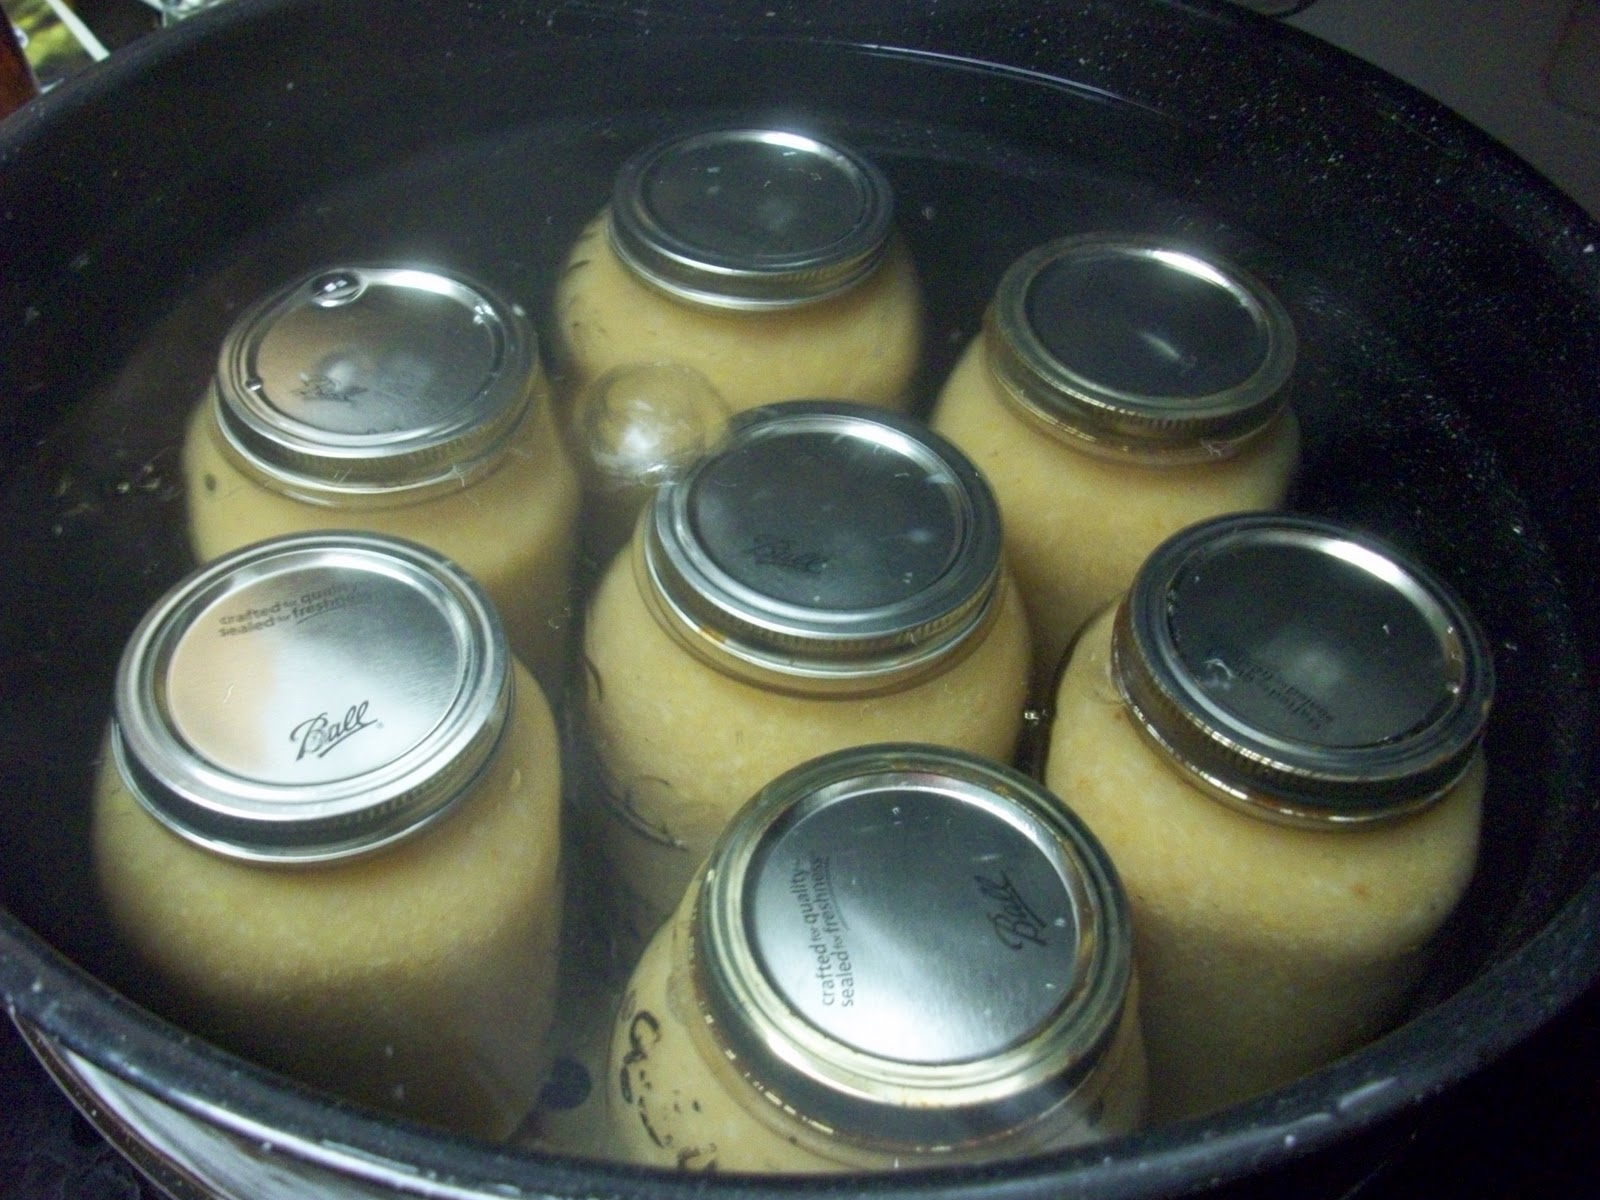
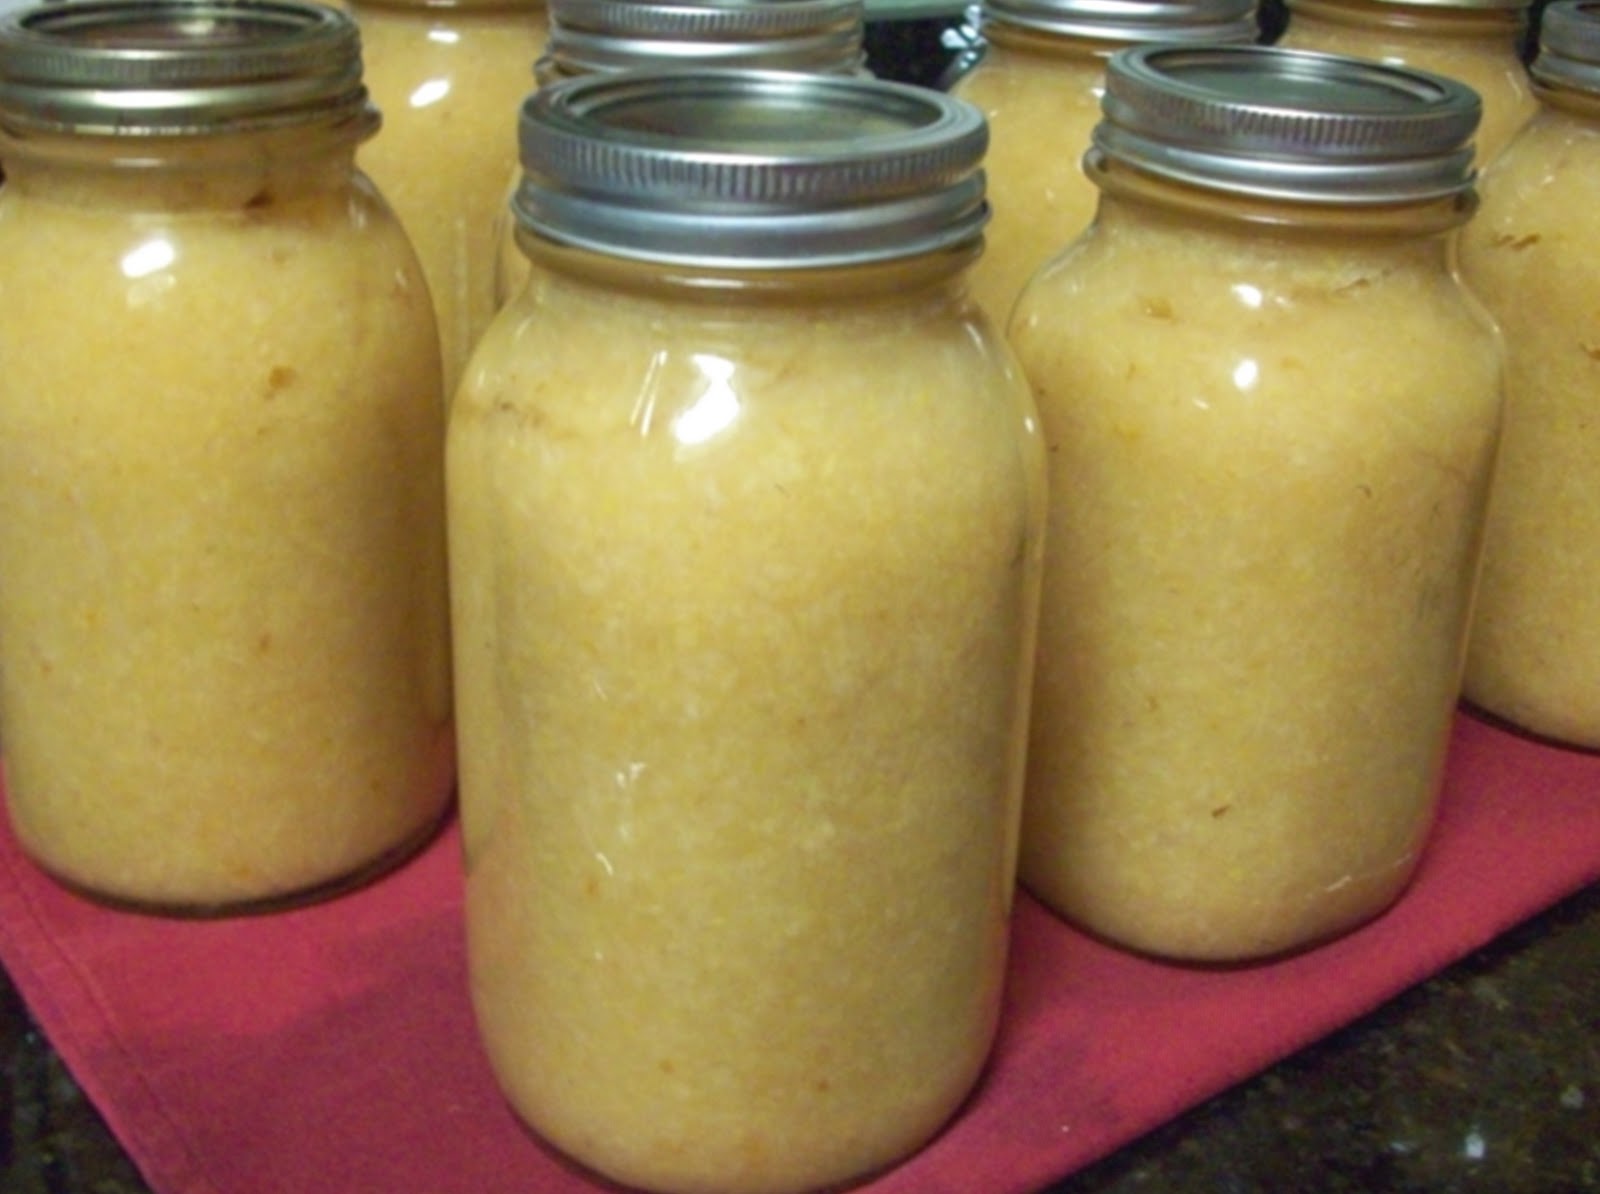
 After cooking and juicing all the apples and pears and straining all the juice from the pulp, I canned the pear juice and got ready for canning the apple pear sauce! The pears had a lot of excess juice, but the apples were fairly thick and didn't need to be strained.

 I stirred together all the pear and apple pulp and added a few squirts of lemon juice and about 1 cup of sugar to the 3 gallons of apple pear sauce. I did my best to bring it to a boil, but the sauce was very thick and it was producing boiling hot bubbles that would fling apple pear sauce all over my kitchen...So I kept the lid on the pot and stirred with caution!!

I filled hot sterile jars with hot apple pear sauce and placed on sterilized lids and rings.

Canned the jars in a water bath canner for 20 minutes.
Then I left the jars to seal and cool overnight and they were ready to be cleaned, labeled and stored in the morning!

Canning Pear Juice

 
I started off by cooking sliced pears in a little bit of water (a full pot of sliced pears with about 1-2 inches of water at the bottom). I cooked them with a lid on (stirring occasionally) until they were slightly mushy. At that point I set up my kitchen aid mixer with the juicer attachment and put all the fruit through there. This went alot faster than I thought! Addie loved watching all the juice and pulp fall into the gallon jar.

Then I used a fine strainer and strained out the juice from the pulp (so I could add the pulp to the Apple Pear Sauce!). I started with 2 gallons of Pear pulp and juice and ended up with 1 gallon of each after the juice was strained from the pulp.

I prepared my stove top with my water bath canner while also getting the lids sterilized in hot water. With my jars all sterilized I put them in the oven to keep hot and sterile.

The juice is placed in a large pot over medium high heat (stirring regularly) until boiling. Lemon Juice and Sugar is not completely necessary, but I added a couple squirts of lemon juice and about a cup of sugar to the pot to help with preservation and color.

Pour the boiling juice into sterilized jars and water bath for 20 minutes.


Let the jars set overnight to cool and seal and they are ready to clean, label and store!

Apples and Pears!

My cousin brought over 35+ lbs of Apples and 45+ lbs of Pears that had fallen from their fruit trees and were in immediate need of canning. We worked all day and after she left I even worked into the night to get all this done and ready for storage! It was alot of work, but extremely fun!! I didn't get very many good step by step pictures because we were more focused on trying to figure out what we were doing and keeping the kids from taking a bite out of each and every apple and pear :)
When we first started we had extremely different plans for the apples and pears, but as the coarse of the day unfolded, so did our plans! We had plans to make mostly pear slices out of the pears, but they were very ripe and extremely hard to peal...as well as we were running out of time. So we made as many jars of pear slices as we could and then used the rest to add to the apple sauce and make apple pear sauce (DELIGHTFUL!). Also some pear juice that is "extremely delicious", at least that was Henry's assessment :)

Apple Pear Sauce - 9 Quarts
Pear Juice - 5 Quarts
Apple Slices - 8 Quarts
Pear Slices - 6 Pints, 1 Half Pints
Apple Butter - 1 Quart, 2 Pints, 2 Half Pints

Tuesday, August 31, 2010

Canning Herb Syrup - Mint, Spearmint, Chocolate Mint, Lavendar, Basil

I have several varieties of mint growing like crazy in the garden so I decided it would be fun to make up some mint simple syrup to can for winter! I love to add mint simple syrup to my tea as well as with some club soda and ice for a "soda like" beverage. I'm also excited to try some lemonade sweetened with mint syrup :) I think I am going to do this syrup idea with some basil and lavender as well!!

 Start by removing and cleaning all your mint leaves. Then place them in water (proportions per batch are found at the end of this post). Bring them to a boil then reduce heat to low and simmer for about 30 minutes...or longer if you get distracted! Stirring occasionally to help keep the leaves working and oils extracting! (during this time make sure your jars are getting sterilized and placed in a warm oven as well as getting your water bath canner boiling and ready for the full jars of syrup)

Once the leaves have simmered you will want to strain out all the leaves to only have the delicious juice. I like to use a small hand strainer over a 1 gallon glass jar. Then pour the juice back into the pot. You can see how dark and rich the liquid is from the essential oils in the leaves! Press out as much liquid as you can from the leaves...the last few drops are the best!!

Add the desired lemon or lime juice and then bring the liquid to a boil and add the sugar, stirring constantly once the sugar is added. You only need to heat the syrup until the sugar is dissolved, which could be as little as a minute, but may take a few minutes.
 With your hot sterilized jars ready to go as well as your lids and water bath canner, you are ready to fill your jars.
Fill your jars to within 1/4 inch from the top...be careful not to make a big mess...this is syrup remember and is very sticky!
Clean off the rims and place on your sterilized lids and rings and process in a boiling water bath canner for 10 minutes.
I did several batches and made 11 quarts of mint syrup (7 chocolate mint, 3 spearmint, and 1 that is a combo).

These are the quantities I used (per batch): This batch will make about 3 quarts of syrup

  • 6 cups Herb leaves (loosely packed) You can use any herb you have: Any Mint, Lavender, Basil, etc.

  • 10 cups Water

  • This made about 8 cups of liquids after simmering and so I added 8 cups of sugar

  • 1/3 cup lemon juice

Saturday, August 28, 2010

Canning Grape Jam

I used the juice we crushed from the Marachel Foch grapes to make this jam. I made 2 different kinds of jams and just followed the directions listed on the packet provided with my powdered pectin. This is by far the easiest! I have searched far and wide for a good jam recipe but it always seems that the directions given with the pectin packet will contradict a good recipe. So trust the packet! I did 1 batch of jam with "No sugar added" and 1 batch of jam with "minimal sugar added".

The recipe will be similar to this. Measure out your juice and heat to a boil adding sugar if necessary (the recipe may or may not call for extended boiling times).
Have your jars sterilized and in a 200 degree oven to keep warm and sterilized.
 Add the powdered pectin and stir.

Fill your jars and clean the rims with a damp cloth.
 Process in a water bath canner for the time designated on your canning directions. My directions called for 10 minutes in a boiling water bath canner.

Canning Grape Juice Step by Step with Pics

After we crushed the Marachel Foch grapes and extracted the juice, we made 10 gallons of wine and saved 5 gallons of juice for jams and canned juice. This 5 gallons was put in the refrigerator for a minimum of 24 hours (ours set for several days) to let all the sediment settle to the bottom. Once the sediment has settled to the bottom you will want to siphon the juice off the sediment (without disturbing the sediment). Henry thought this was the best thing ever! He held the hose for me and was a tremendous amount of help...or else I would have probably ended up with grape juice all over my kitchen!

 
Get your area ready! I sanatized my jars and put them in the oven at 200 degrees to stay hot and sterilized while I was getting everything else together. I have 1 large water bath canner on the stove getting boiling and 1 stock pot filled with as much grape juice as I could fit in there. Then behind the pot of grape juice I put my lids in a pot of steaming water to sterilize.
Bring the juice to 190 degrees and heat for 5 minutes stirring regularly to avoid scorching (adding sugar if you want). Remove from heat and fill your jars with the juice. Clean the rims and adjust your sterilized lids and bands.

Boil in a water bath canner for the designated time for your altitude. Mine was 15 minutes at a full boil.
Remove your jars from the canner and let them cool 24 hours. Remove the bands (not the lids obviously) and clean your jars thoroughly, label and store!
This was quite easy! The tast is unbelievable being from fresh crushed grapes. I did this process 2 times with 7 jars each time and ended up with 14 Quarts of Grape juice :)

Thursday, August 26, 2010

Marechal Foch Grapes into Juice for Wine, Juice and Jams

So the time has finally arrived and we have had the opportunity to get our hands on some wine grapes! With 240 lbs of grapes we have ended up with 10 gallons of wine, 14 quarts of canned grape juice, 8 pints of jam and 9 half pints of jam. This was quite a bit of work and even more mess, but so much fun!!


This crusher is intended for a 55 gallon barrel, but all we had was a 6 gallon primary fermentor so we set the crusher on top of that. I highly recommend using one of these if you have the opportunity, it was very easy and very fast. We did all our grapes in less than 30 minutes.


They enter the crusher and one person holds on to the crusher and the other cranks the handle.

All crushed!


Grapes in the primary fermenters to set for 1 day and extract the juices!


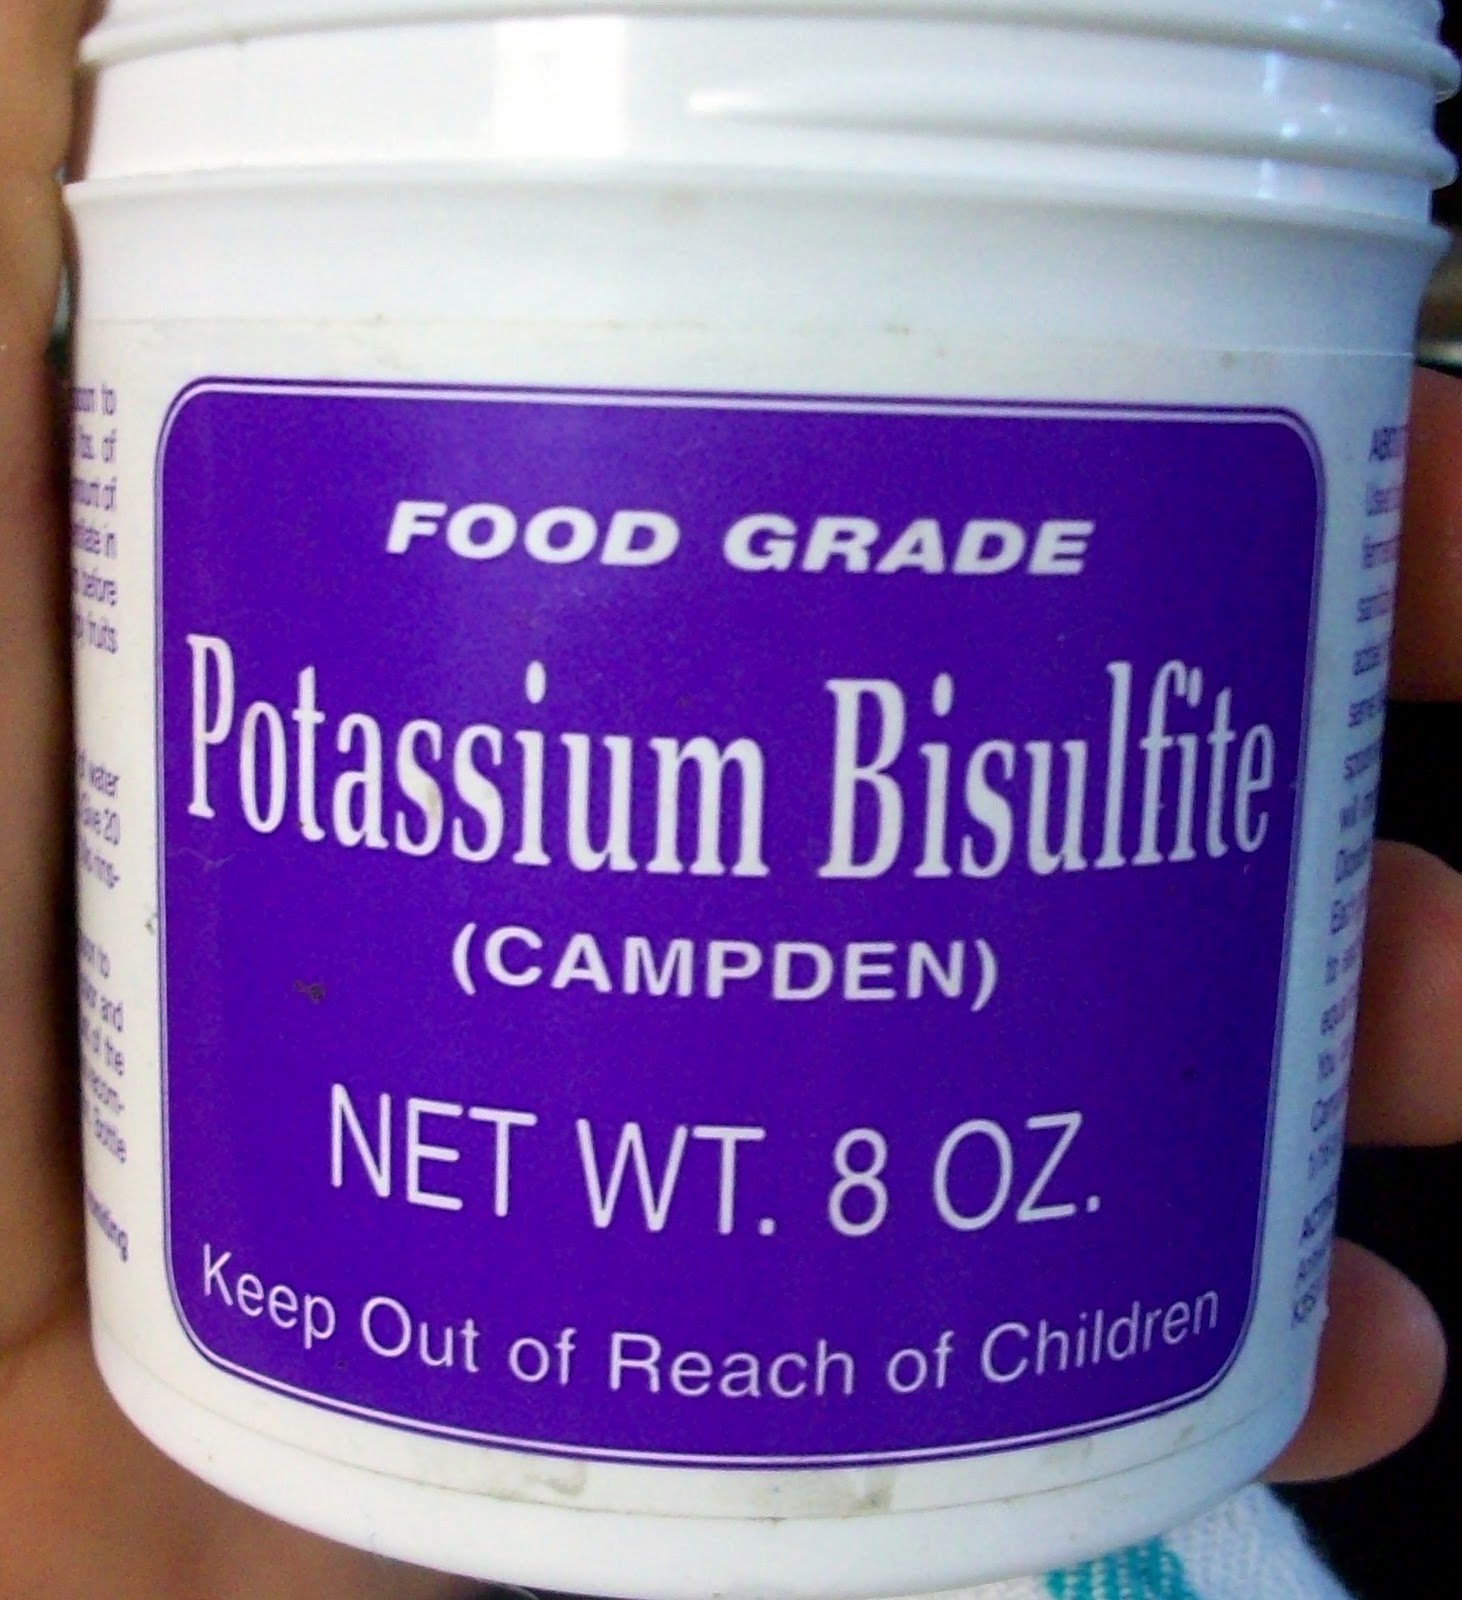
Add Potassium Bisulfite to break down the natural yeast in the grape skins so you don't end up fermenting your grapes before you are ready to...especially if you are making juice for the kids!! (follow directions given on the back of the container)

The next day you will see a big difference in the amount of juice to pulp ratio!


Crush down your grapes to get one last squish out of the pulp. (I used a sterilized wooden rolling pin...but if you have a fancy wine crushing rod that would work good too.)

Grapes are ready to be filtered into juice! We started by scooping out as much pulp as we could and squeezing the juice out.
Then we lined a 6 gallon bucket with organza fabric and poured the remaining pulp and juice into that so we could easily gather the top of the fabric and squeeze the remaining juice away from the pulp. We talked to someone who prefers to crush their grapes directly into a bucket prepared with fabric like this and then they never have to transfer buckets since all the fermenting and straining can take place in 1 bucket...smart idea!

 Pour and gather!

JUICE!! We did this 3 more times with 3 more buckets and ended up with 15 gallons of juice... With that we made Wine, Canned Juice, and Jams.